
How to Make Monster Ice Pop Holders – Free Crochet Pattern
Summer is almost here and that means lots and lots of popsicles! Popsicles call for ice pop holders … with fun monster faces! And that’s why I designed the Monster Ice Pop Holders!
This post contains affiliate links. At no extra cost to you, I may receive a small commission from purchases made through affiliate links, which helps me to keep bringing awesome free content!
Keep the little ones cool during the summer, without freezing tiny fingers! Great for pool parties or summer birthday party favors. These are a huge hit with the kids! Also available: Girly Ice Pop Holders, Unicorn Ice Pop Holders, and Knit Monster Popsicle Holders!

I designed these Monster Ice Pop Holders in the Summer of 2013 when my boys were nine and twelve, and they went wild for them! My daughter was just a baby at the time, but she is now five and it seems these ice pop holders are just as fun!
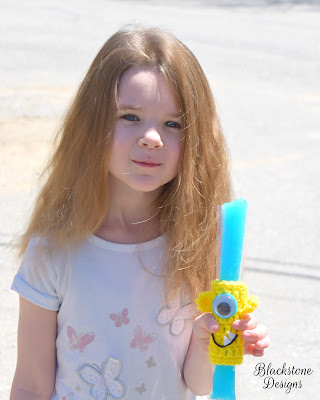
I’ve been meaning to move this pattern over here to my blog for a while now, but I just never got around to it… until now! (I did make the Girly Ice Pop Holders set too and that pattern will be transferred to this blog soon too!)
Get the Ad-Free PDF from your favorite pattern shop below!



Here’s how to make your own:
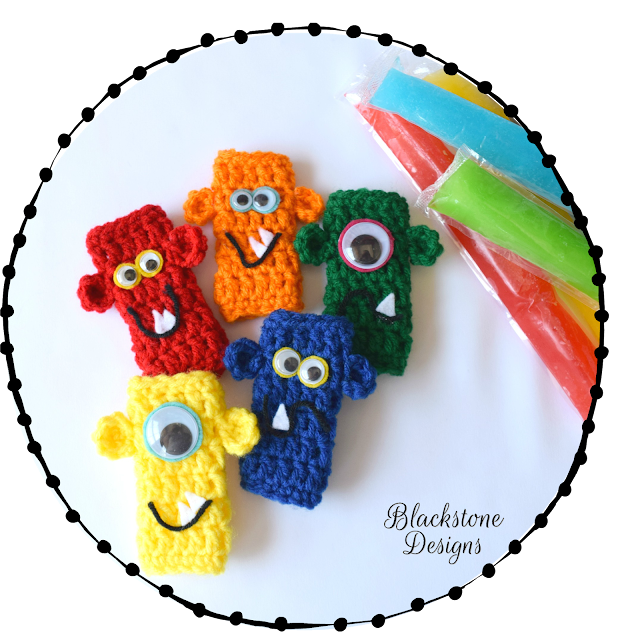
Materials
Worsted Weight Yarn (#4)
* 5 – 6 colors in scrap amounts
* Black [Mouth]
* Colored [Eye Backs]
* White [Teeth]
Gauge
Not Important for this project
Stitch Guide
arnd = around
ch = chain
dc = double crochet
sc = single crochet
sl st = slip stitch
st(s) = stitch(es)
Skill Level
Beginner
Written in US Terms
Notes
* Beginning chains do not count as stitches.
* Any glue can be used for this project; I prefer hot glue or E6000.
Instructions
BASE
1. Ch 11, join to form a ring, ch 1, sc in back bump of each ch arnd, sl st to join (11)
2. Ch 2, dc in each st arnd, sl st to join (11)
3-7. Repeat round 2
8. Ch 1, sc in each st arnd, sl st to join; Fasten. (11)

EARS (Make 2)
1. Magic Ring, ch 1, 4 sc in ring (4)
2. 2 sc around; Fasten. (8)
Attach to base at rnd 6, one on each side.

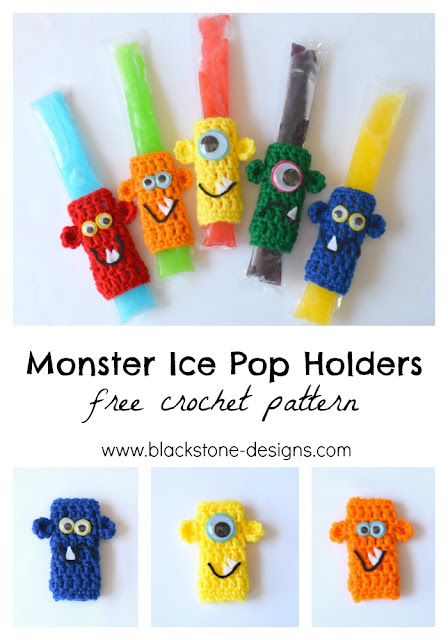
Finishing
* Cut 1 ½ to 2” strand of black yarn for mouth.
* Cut small pieces of white felt into triangular pieces for teeth.
* Place Google eye on felt (color of your choice) and cut around it to “outline” the eye or create the eye backing.
* Using glue, attach google eyes to felt and then felt to BASE between ears.
* Using glue, attach small strand of black yarn to BASE at round 3.
* Using glue, attach teeth next to mouth in desired location.

So, what do you think? Let me know in the comments!
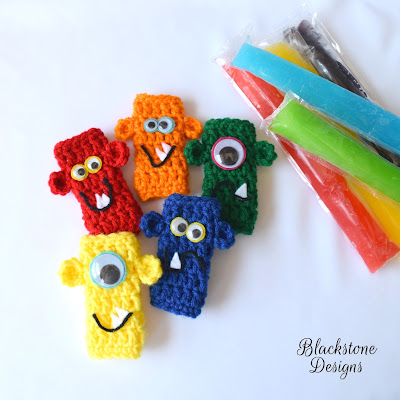
I’d love to see your finished projects! Join the Blackstone Designs Crochet Community or share them to my Facebook page!
Hope to see you there!!
And don’t forget to add this pattern to your Ravelry favorites and Pin it for later, so you can always find it!

Written pattern and photographs © 2013 Sonya Blackstone of Blackstone Designs. Please do not sell, share, or modify this pattern, but instead share the link to where the pattern can be found. You may sell items you make with this pattern. This pattern, as with all Blackstone Designs/Sonya Blackstone patterns, are not for educational use without written permission from the designer.
Sonya Blackstone is a participant in the Amazon Services LLC Associates Program, an affiliate advertising program designed to provide a means for us to earn fees by linking to Amazon.com and affiliated sites.
SHEEP TAPE MEASURE on ETSY


I am making the monsters for our grandkids. Freezies keep better up north at our cottage. Thanks for sharing this great pattern.
Lynn aka Nana
Thank you thank you thank you for sharing this pattern with all of us. I have grandkids and great-grandkids who are going to love these.
Nancy G.
Hi Nancy!
You’re very welcome! These are definitely a hit with the kids… even teens if you can believe it!
Happy Crocheting!
-Sonya
Very good.
thank you
These are so cute and useful too. Great stocking fillers. Thank you.