How to Make the Valentine Kisses Treat Bags – Free Crochet Pattern
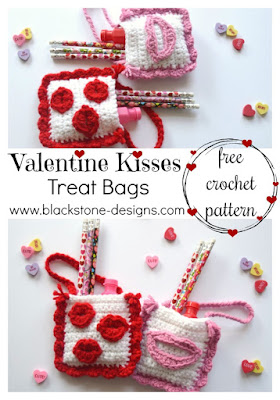
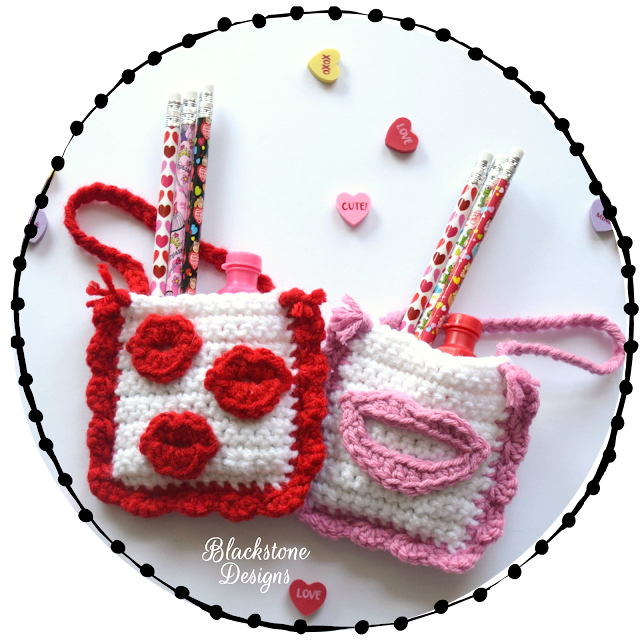
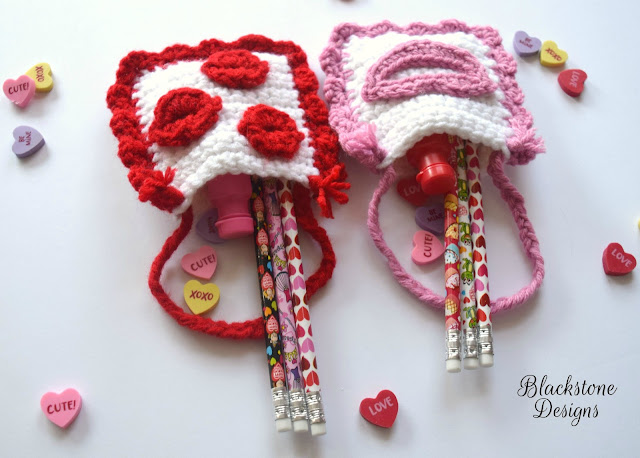
These Valentine Kisses Treat Bags are so much fun to make and receive! They fit lots of small goodies and make the perfect little gift wrap. Plus, they whip up so fast, they are great for classroom gifts!
This post contains affiliate links. At no extra cost to you, I may receive a small commission from purchases made through affiliate links, which helps me to keep bringing awesome free content!
You may also be interested in the Valentine’s Day Mini Treat Bags.

If you’re like me, you don’t like to give candy to classrooms, so here is a small list of other items that will also fit inside:
1. Fruit Snacks
2. Lip Balm
3. Mini Lotion
7. Party Favors
8. 5-6 Clover Amour crochet hooks fit inside too!
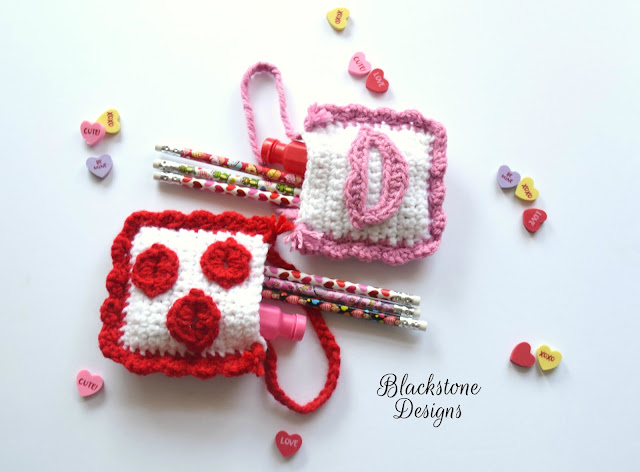

Valentine Kisses Treat Bag Crochet Pattern
Option 1: Continue scrolling for free pattern instructions on this site
Option 2: Purchase the ad-free PDF that includes tutorial photos from one of my shops
Option 3: Purchase the “14 Valentine Crochet Patterns” ebook.
Materials
Worsted Weight Yarn (#4)
- Color (A) – 50 yards
- Color (B) – 50 yards
Gauge
Not important for this project
Size
4.5” wide from trim to trim
4.25” tall from top to bottom of trim
3.5” x 3.5” panels, no trim
Stitch Guide
arnd = around
ch = chain
sc = single crochet
sk = skip
sl st(s) = slip stitch(es)
st(s) = stitch(es)
trc = treble crochet
Skill Level
Easy
Written U.S. Terms

Notes
- Beginning chains do not count as stitches.
- Instructions in parentheses are worked in the same space.
- Instructions appearing between asterisks should be repeated as indicated.
Here’s how to make the Valentine Kisses Treat Bags!
Instructions
PANELS (Make 2)
With Color A and H Hook,
R1. Ch 13, sc across, turn (12)
R2-14. Ch 1, sc across, turn; Fasten at the end of row 14. (12)
Hold panels together so that row 1 of each panel meets up at the bottom.
With Color B and H Hook,
Attach to the top corner, working through both layers:
R1. Ch 1, sc in same space and in the end of each row down the side putting 2 sc in the bottom corner, sc in each ch across the bottom, 2 sc in the bottom corner of opposite side, sc in the end of each row up the other side, turn
R2. Ch 1, sk 1st 2 sts, 5 sc in next, *sk 2, 5 sc in next* around; Fasten. Hide all strings.
FULL LIPS
With Color B and G Hook,
Ch 22, join to form a ring, sc x 2, hdc x 2, dc x 3, hdc x 2, sc x 2, (sl st, ch 2, sl st), sc, hdc, hdc, hdc, sl st, hdc, dc, hdc, sc, (sl st, ch 2, sl st), sl st to 1st st; Fasten.
PUCKERED LIPS
With Color B and G Hook,
Make a magic ring, ch 1, sc, hdc x 2, dc, hdc x 2, sc, sl st, ch 2, sl st, sc, hdc, dc, sl st, dc, hdc, sc, sl st, ch 2, sl st, sl st to 1st st; Fasten.
HANDLE
With Color B,
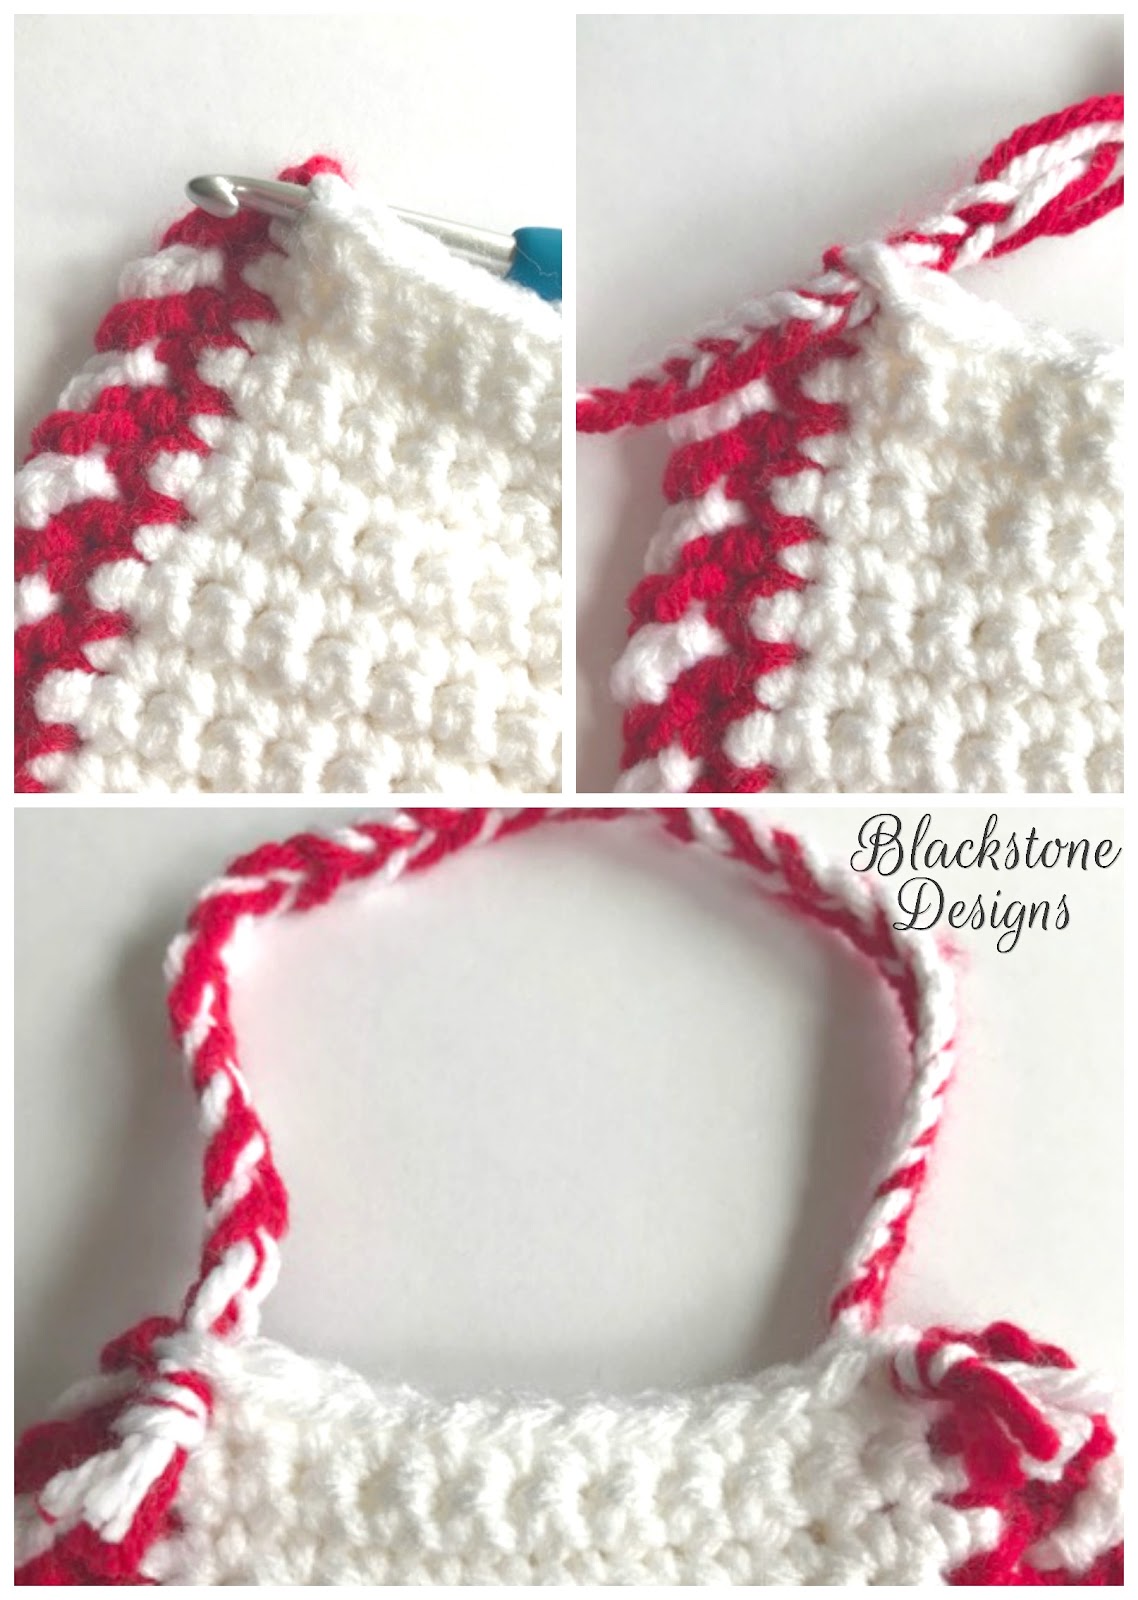
Cut 6 -15” strands, hold all 6 strands together, and tie a knot in one end. Separate into 3 groups of 2 and braid them.
<SEE PHOTO BELOW>
Finishing
- Insert hook in top left corner stitch, from the inside of the bag out, pull the handle through stitch (by untied end), insert hook in top right corner from outside of bag, pull the handle out. Tie a knot on untied end. Trim tails to even them out.
- Glue full lips to front center of bag.
- Glue puckered lips staggered in desired locations.
- Hide all strings.
And that’s how you make the Valentine Kisses Treat Bags!
I hope you love this pattern as much as I do! Don’t forget to add this pattern to your favorites on Ravelry so you can always find it!
Join my Blackstone Designs Crochet Community group on Facebook to stay up to date, receive special offers, pattern support, and so much more! Hope to see you there!

Written Pattern © 2018 Sonya Blackstone of Blackstone Designs. Do not sell, share, or modify this pattern, but instead share the link to where the pattern can be found. You may sell items you make with this pattern. This pattern, as with all Blackstone Designs/Sonya Blackstone patterns, are not for educational use without written permission from the designer.
Sonya Blackstone is a participant in the Amazon Services LLC Associates Program, an affiliate advertising program designed to provide a means for us to earn fees by linking to Amazon.com and affiliated sites.