
Herringbone Pumpkin Crochet Pattern
Fall is the perfect season to embrace cozy, handmade decor, and what better way to do that than with this herringbone pumpkin crochet pattern?
This post contains affiliate links. At no extra cost to you, I may receive a small commission from purchases made through affiliate links, which helps me to keep bringing awesome free content!
This unique twist on the classic crochet pumpkin combines the warmth of autumn with the intricate texture of the herringbone stitch, resulting in a stunning piece that stands out in any home.
Whether you’re looking to elevate your seasonal decor or trying a new crochet technique, the herringbone pumpkin offers a blend of sophistication and charm that’s sure to make it a fall favorite.
Crochet pumpkins are generally made from a rectangular strip of fabric, just like this pumpkin that’s made from a strip of the herringbone stitch!
Ways to Use Herringbone Crochet Pumpkins
Crochet pumpkins are incredibly versatile and can be used in various places around your home. Here are some ideas on where to display them:
Centerpieces: Stack your pumpkins or add them to wreaths or trays and use as a centerpiece for your kitchen or coffee table.
Mantle Decor: Place autumn garland on your mantle, then add crochet pumpkins of varying colors and sizes. Place them alongside candles and other decor for an extra fall feeling.
Shelf Accents: Add a pop of fall color to your bookshelves by placing a small crochet pumpkin among your books and plants.
What is the Crochet Herringbone Stitch?
Not to be confused with variations of the basic crochet stitches, the crochet Herringbone Stitch pattern that uses a combination of chains, slip stitches, single crochets, and double crochets to create a beautiful herringbone texture.
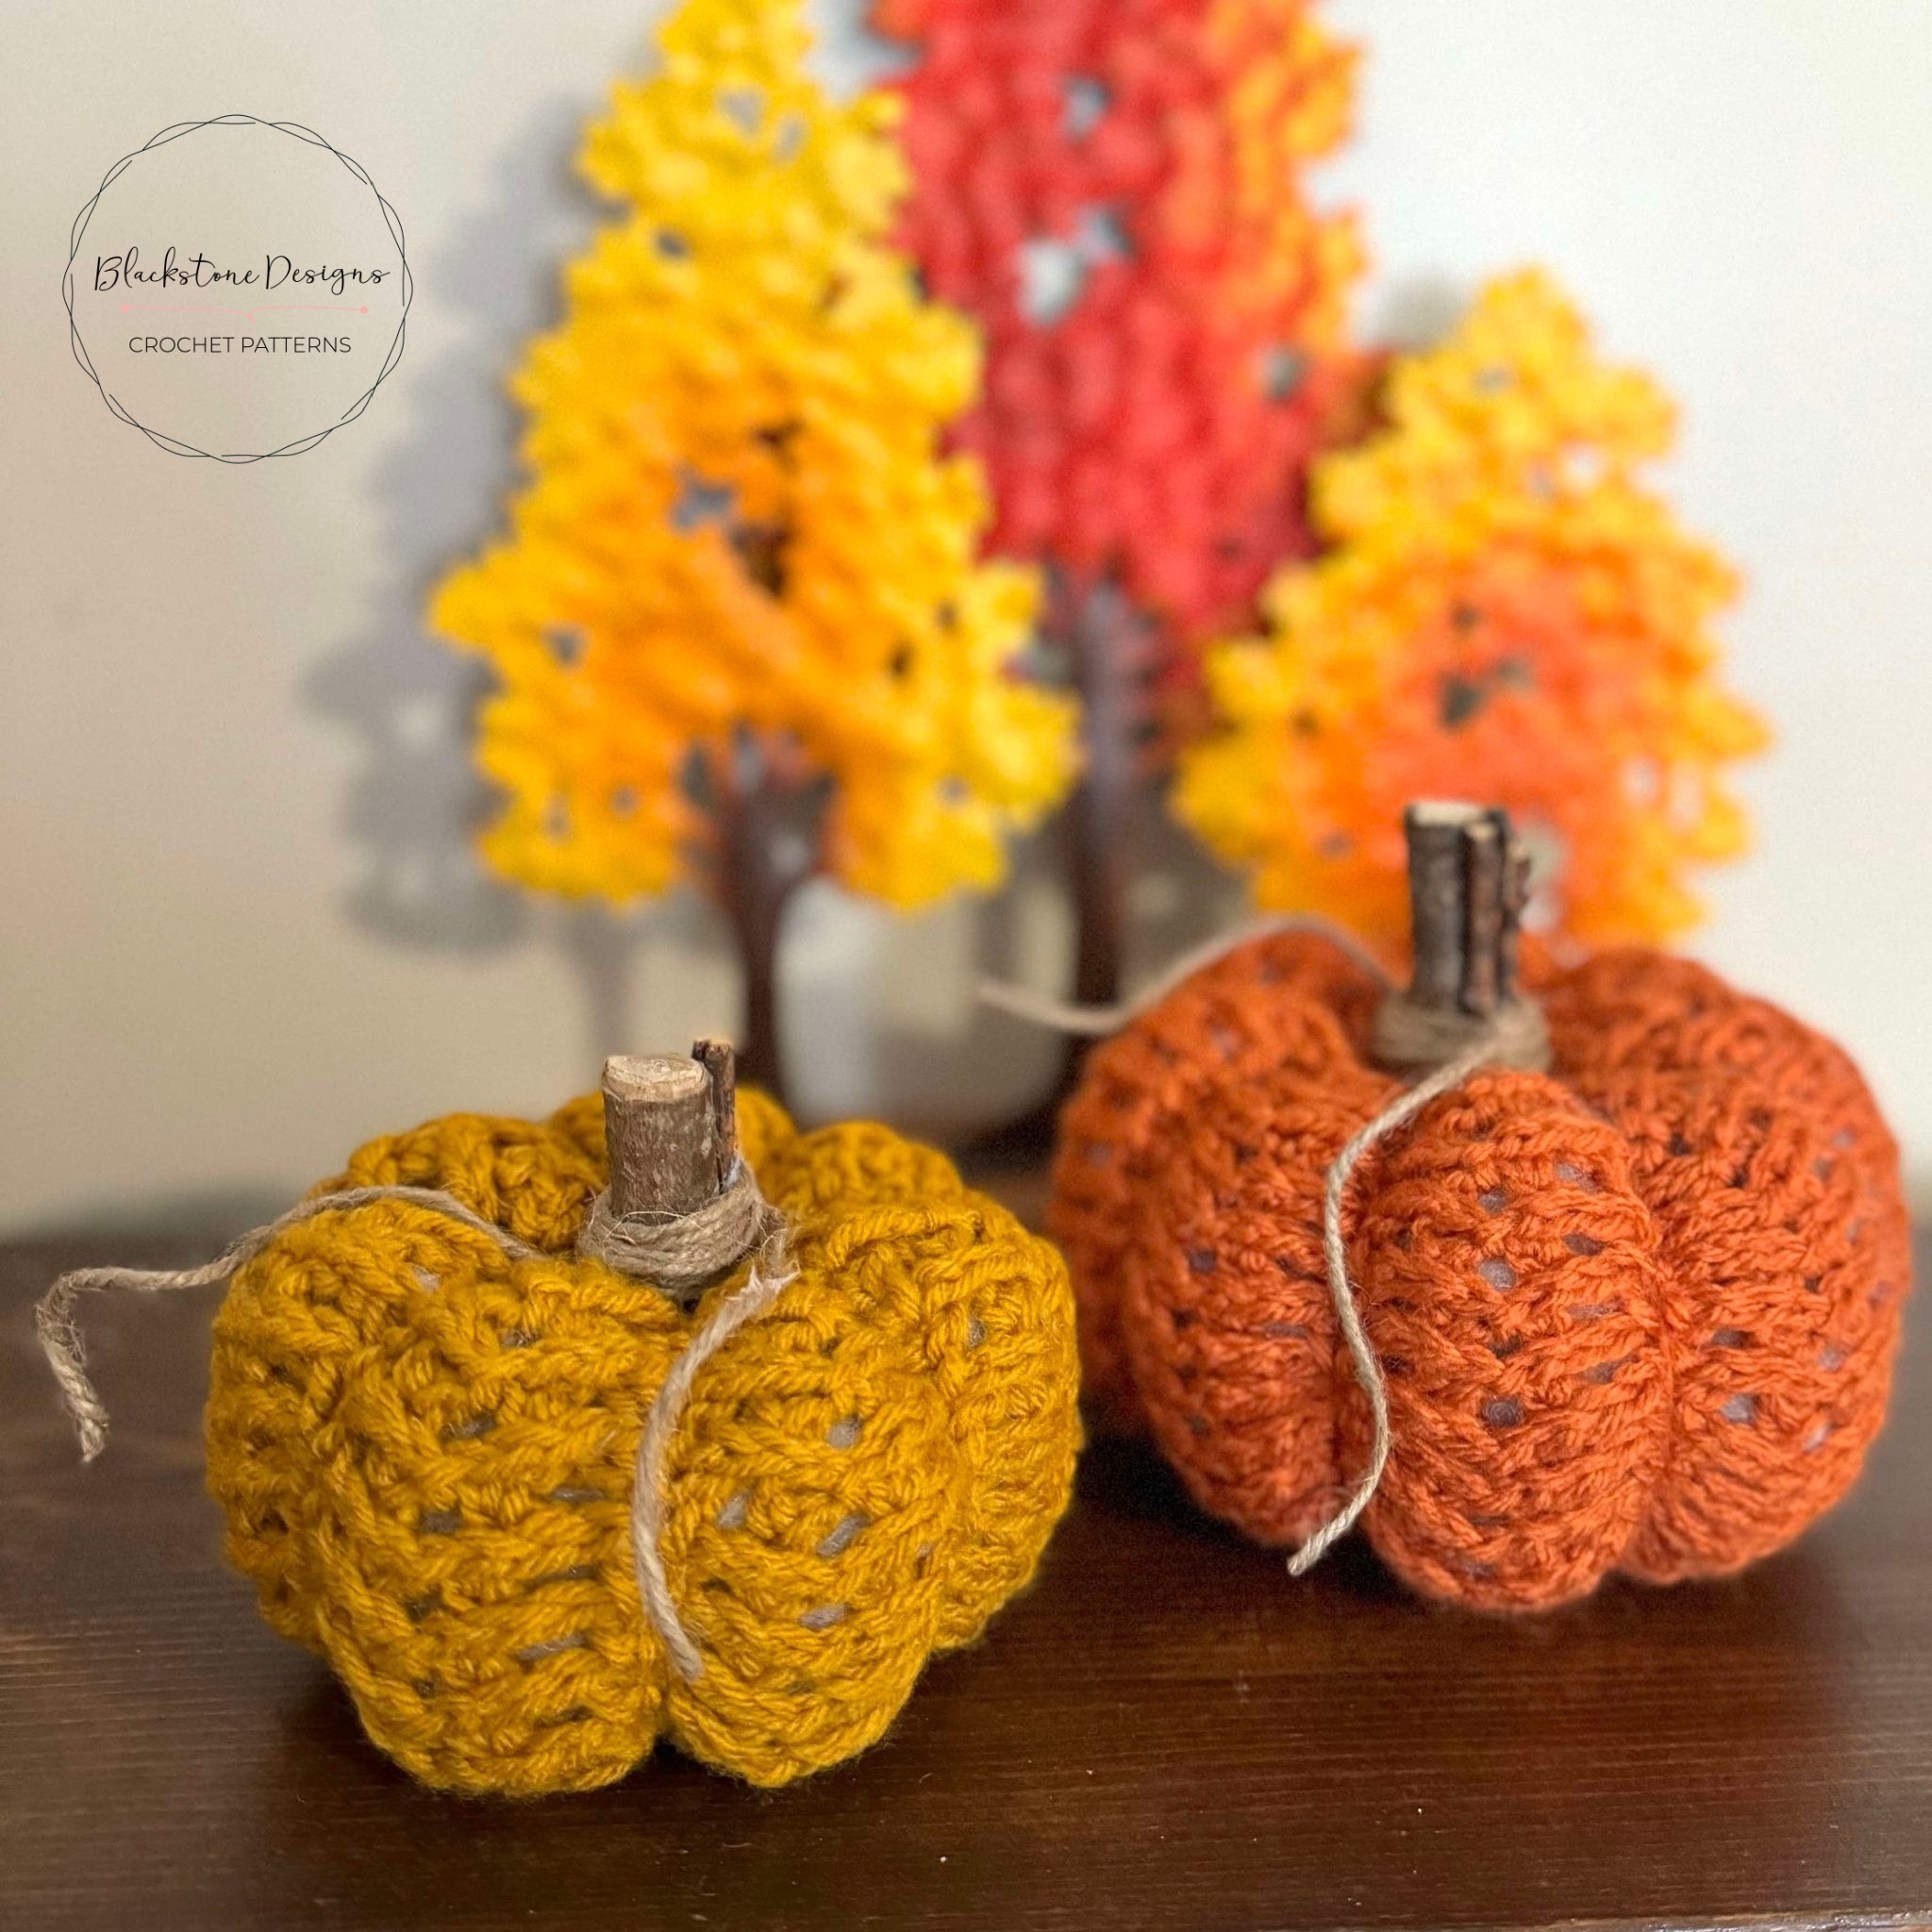
Herringbone Pumpkin Crochet Pattern
Option 1: Continue scrolling for free pattern instructions on this site
Option 2: Purchase the ad-free PDF that includes tutorial photos from one of my shops
Option 3: Purchase the “13 Pumpkins Crochet Patterns” eBook.
What materials do I need?
To follow the herringbone pumpkin crochet pattern you will need yarn, a crochet hook, and some stuffing. To determine the yarn and hook size, I suggest using the hook listed on the label of whatever yarn you choose. To make the crochet pumpkins in the photo you will need worsted weight yarn and an H/8/5.00mm crochet hook.
What are the stitch multiples?
This pattern is worked in multiples of 6 + 2 chains.
What else do I need to know about the Herringbone Pumpkin Crochet Pattern?
The stitch used has a right side and a wrong side, so you will need to make sure your herringbones are facing out. This stitch also creates holes in the fabric, so using darker stuffing or stuffing a nylon and adding that to the center may help hide the stuffing better.
The Pattern
Keep reading for a list of what you need to make the herringbone pumpkin, including the stitch pattern instructions!
Gauge
19 herringbone sts x 20 rows = 4.5”
Not Critical for this Project
Finished Measurements
Varies by stitch and row count
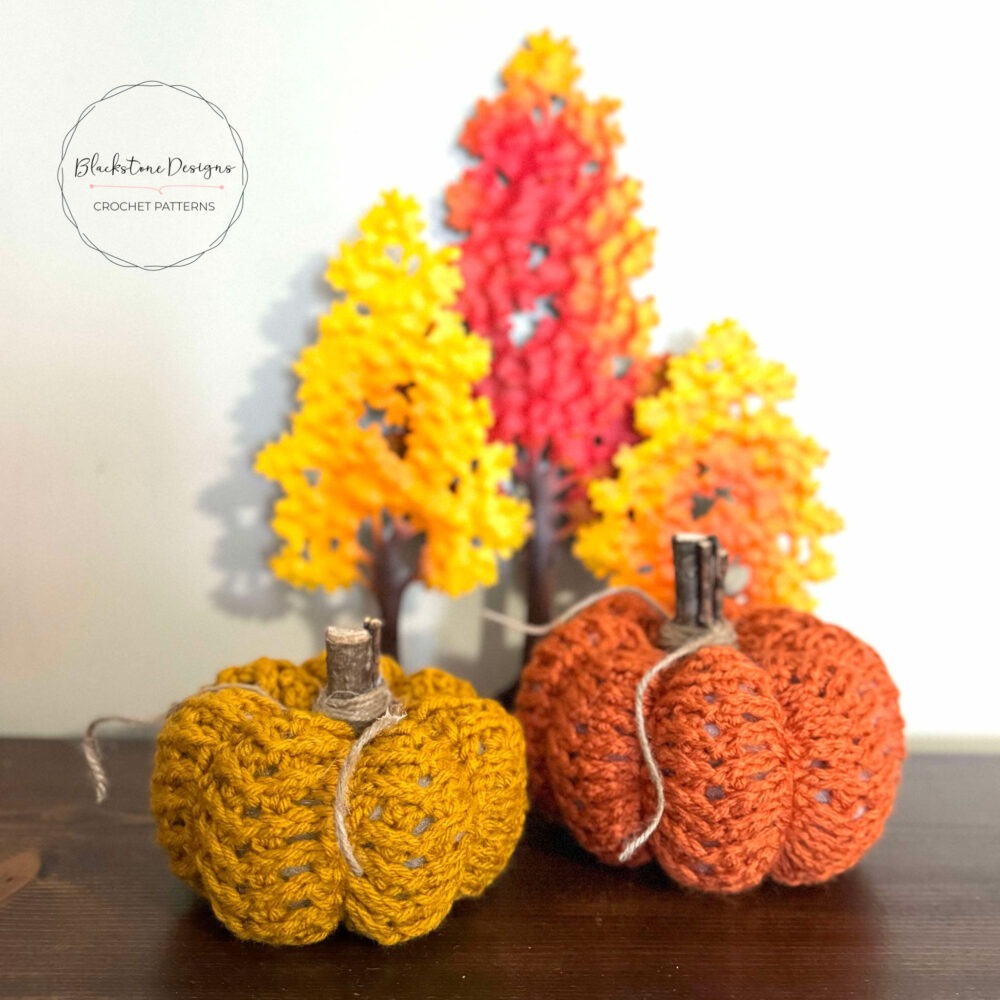
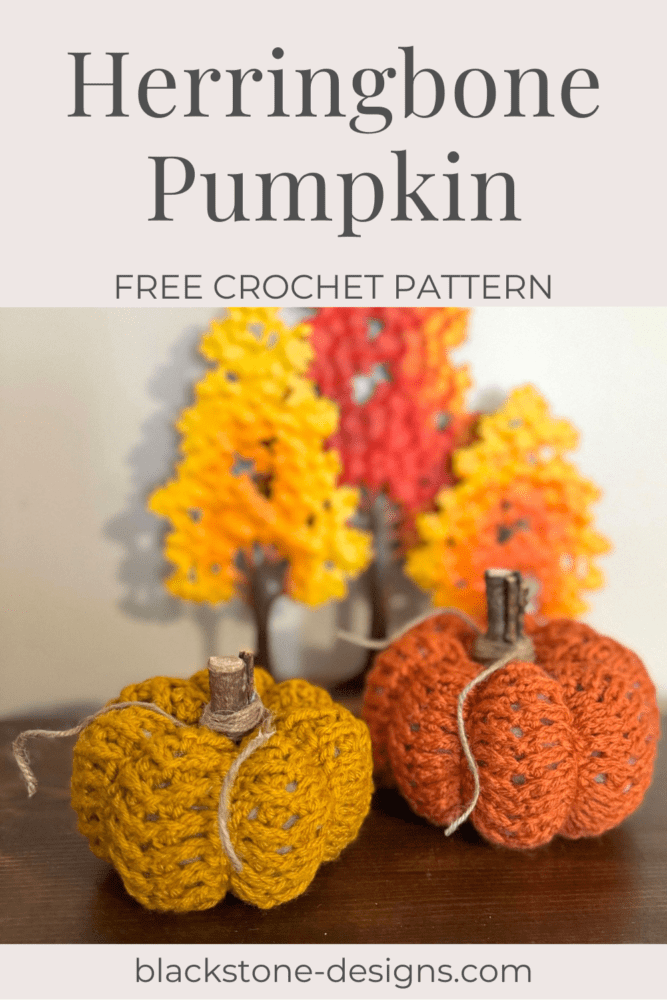
Yellow: 4.5 x 3” (11.75” x 6” Strip)
Orange: 5.25 x 3.5” (12.25” x 7.5” Strip)
Stitch Guide
ch = chain
dc = double crochet
sc = single crochet
sl st(s) = slip stitch(es)
YO = yarn over
Skill Level
Intermediate
Written in U.S. Terms

Pattern Notes
- Beginning chains do not count as stitches.
- Where asterisks appear, repeat the instructions between them.
- Important: When working slip stitches in ch-1 spaces, make sure to work over the front of the fabric and not around the whole piece (which would cinch the fabric).
- “2 rows below” will always be an even number row during repeat rows. For example, from R5 you will work into R2, from R7 you will work into R4…etc.
- Each strip should be a rectangle when finished. I did the following stitches/rows for each pumpkin: Yellow = Ch 38 x 26 Rows; Orange = Ch 50 x 32 Rows.
- The stitch used has a right side and a wrong side, so you will need to make sure your herringbones are facing out.
- This stitch also creates holes in the fabric, so using darker stuffing or stuffing a nylon and adding that to the center may help hide the stuffing better.
- Tutorial photos are at the end of the pattern.
- Stitch chart is on the last page.
- There is a complementary video for the herringbone stitch on YouTube.
Instructions
PUMPKIN
With Any Color,
R1. Working in the back bump of the chain across: Chain an even number, sc in 2nd chain from hook and in each ch across, turn
R2. Ch 1, sc in 1st sc, *ch 1, skip ch-1 space, sc in sc* across, turn
R3. Ch 1, sc in 1st sc, *ch 3, skip next ch-1 space and sc, sl st in next ch-1 space 2 rows
below, ch 3, skip next sc and ch-1 space, sc in next sc* across, turn
R4. Ch 1, sc in 1st sc, *ch 1, skip ch-1 space, (dc in next sc behind ch-3, ch 1, skip ch-1 space) 2X, sc in next sc* across, turn
R5. Ch 1, sc in 1st sc, *ch 3, skip next ch-1 space and dc, sl st in next ch-1 space 2 rows
below, ch 3, skip next dc and ch-1 space, sc in next sc* across, turn
R6. Ch 1, sc in 1st sc, *ch 1, skip ch-1 space, (dc in next dc, ch 1, skip ch-1 space) 2X, sc in next sc* across, turn
Repeat R5-6 until fabric measures desired height.
STEM
With Any Color,
R1. Make magic ring, ch 1, 6 sc in ring (6)
R2. 2 sc arnd (12)
R3-10. Repeat R10 to desired height
R11. FLO 2 sc in each st arnd; Fasten.
Finishing
- Fold strip in half and sew short sides together.
- Weave tail in and out of bottom, pull strings to cinch, then stitch closed.
- Flip right side out and stuff it firm (don’t overfill and stretch the stitches, because this stitch is holey as is).
- Weave tail in and out of top, pull strings to cinch, then stitch closed.
- Create sections around the pumpkin by inserting a “threaded” needle in through the bottom center of the pumpkin and out through the top center, then back in through the bottom; pull string to cinch pumpkin slightly. Repeat this 5 more times, then adjust loops to make sections even.
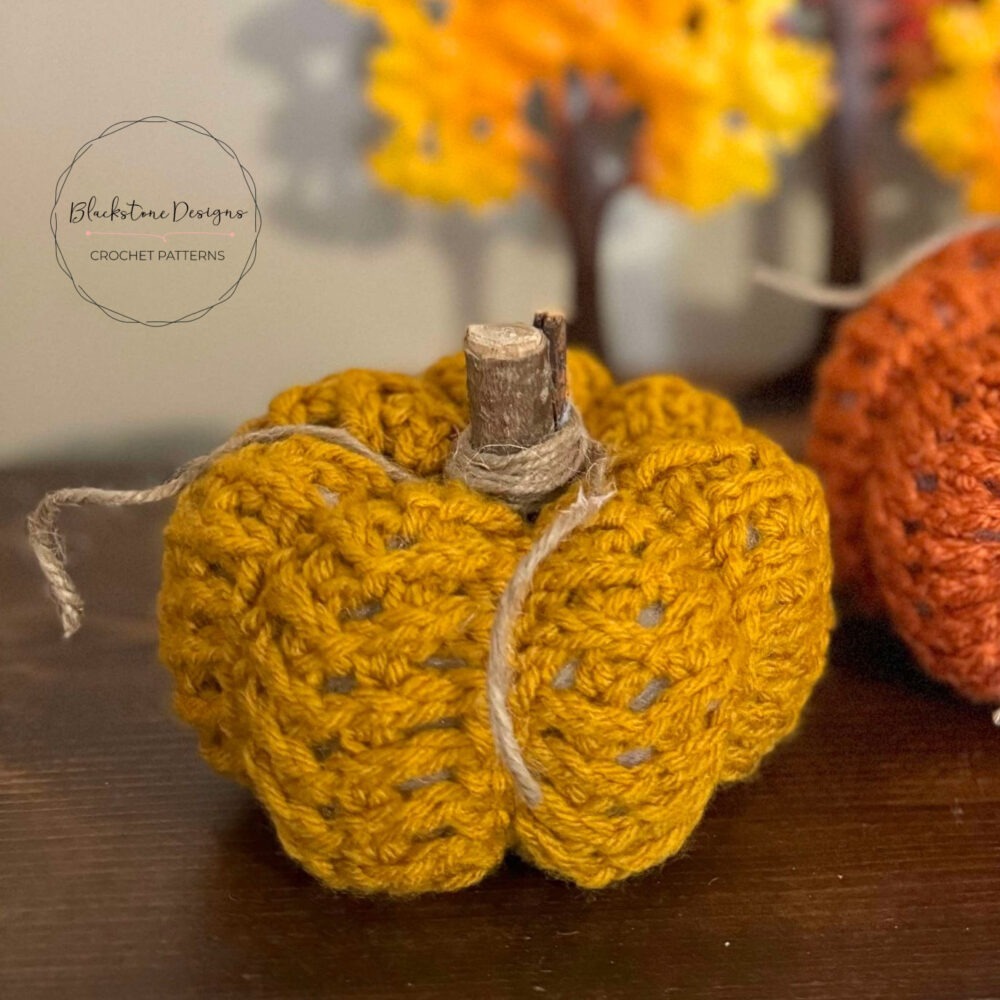
- Add stem to top center (of top pumpkin only if making stacked pumpkins). I made a stem from twigs and twine.
- Hide all strings.
And that’s the Herringbone Pumpkin Crochet Pattern!
Join our crochet community group!
Come on over and join the Blackstone Designs Crochet Community on Facebook for fun CALs and giveaways, plus exclusive sales, pattern support, and so much more!
Don’t forget to share!
Tag me on Instagram at @blackstone_designs or use the hashtag #BlackstoneDesignsCrochet so I can share your makes with the community!
Happy Crocheting!

Written pattern and photographs © 2024 Sonya Blackstone of Blackstone Designs. Do not sell, share, or modify this pattern, but instead share the link to where the pattern can be found. You may sell items you make with this pattern. This pattern, as with all Blackstone Designs/Sonya Blackstone patterns, are not for educational use without written permission from the designer. All rights reserved.
Sonya Blackstone is a participant in the Amazon Services LLC Associates Program, an affiliate advertising program designed to provide a means for us to earn fees by linking to Amazon.com and affiliated sites.


