
How to Make the Black Cat Basket – Free Crochet Pattern
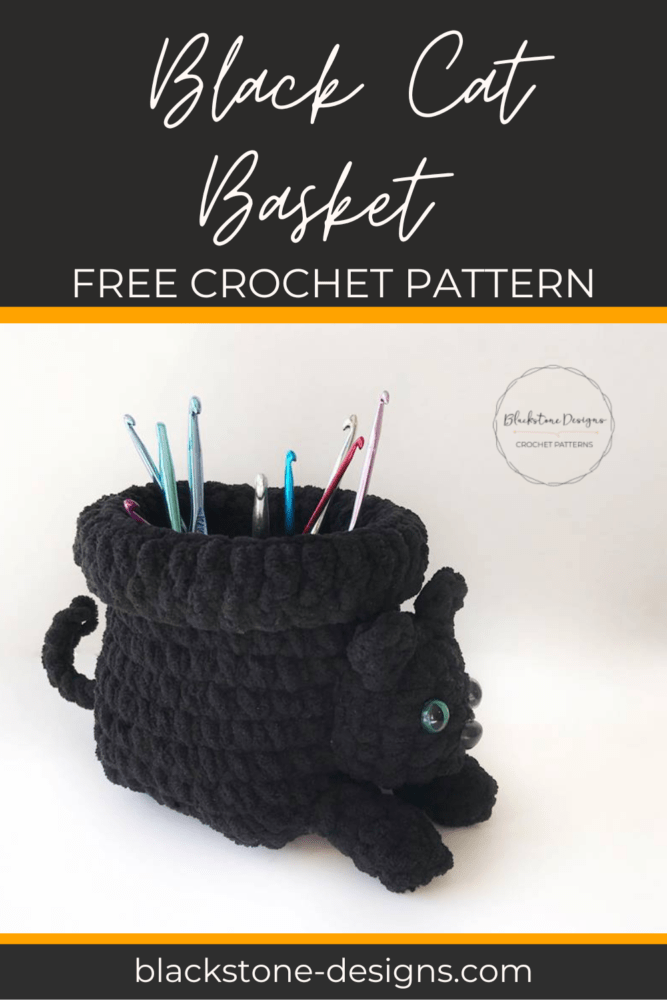
Ok, so I thought I was all done with Halloween designs this year, but I just couldn’t resist seeing this Black Cat Basket through.
This post contains affiliate links. At no extra cost to you, I may receive a small commission from purchases made through affiliate links, which helps me to keep bringing awesome free content!
I have had it planned out for a while, but time just kept ticking by with other designs. I just couldn’t wait any longer to get this pattern to your hands!
This basket is based off the the Bird Baskets I did over the summer. The base is exactly the same. I will have more matching designs coming along at some point too!
Maybe a reindeer for Christmas? Unicorn for funsies? Comment below and let me know what you think of those ideas.
I use mine for paintbrushes, but they really are a great desk mate. You can throw pens, paperclips, sticky notes, candies, or any other small office supply in them, and of course they can be used for crochet hooks too!

Black Cat Basket
Crochet Pattern
Option 1: Continue scrolling for free pattern instructions on this site
Option 2: Purchase the ad-free PDF that includes tutorial photos from one of my shops
Option 3: Purchase the “13 Halloween Crochet Patterns” eBook.
Gauge
Not important for this project
Size
Approximately 4 ¼” x 4 ¼” x 4 ¼”
Stitch Guide
arnd = around
ch = chain
dc = double crochet
FLO = front loop only
sc = single crochet
sl st(s) = slip stitch(es)
st(s) = stitch(es)
Skill Level
Easy
WRITTEN IN U.S. TERMS
Notes
- Beginning chains do not count as stitches
- Double strands of worsted weight yarn can be used in place of super bulky yarn.

Instructions
BASE
R1. Ch 11, sc in 2nd ch from hook and in each ch across, turn (10)
R2. Ch 1, sc across, turn (10)
R3-8. Repeat row 2
R9. Ch 1, sc in the end of each row and in each st arnd, sl st to join in 1st sc (36)
R10. Ch 1, sc in each st arnd, sl st to join in 1st sc (36)
R11-17. Repeat round 10
R18. Ch 2, FLO dc in each st arnd; Fasten.
Fold down round 18.
HEAD
R1. Magic ring, ch 1, 6 sc in ring (6)
R2. 2 sc arnd (12)
R3. *2 sc, sc* and (18)
R4. sc arnd; Fasten. (18)
EARS
Ch 4, sc in 1st ch; Fasten. (1 sc, 3 ch)
LEGS (Make 2)
R1. Magic ring, ch 1, 5 sc in ring (5)
R2-4. sc in each st and (5)
TAIL
Ch 11, sl st in 2nd ch from hook and each ch across; Fasten. (10)
Finishing
- Insert safety nose in center of round 1 of head.
- Insert safety eyes between rounds 1 & 2 on head, one on each side of the nose, leaving a 2-stitch space between them.
- Attach ears to top of the head (round 4), centered over eyes, with an approximate 2-stitch space between them.
- Stuff head slightly (I used yarn scraps) and attach to the center of one side of basket, over rounds 10-14 approximately.
- Attach legs to bottom-front of basket, one on each side of the head, 1-2 stitches in from the corners.
- Attach tail centered on the back over round 10 approximately.
- Hide all strings
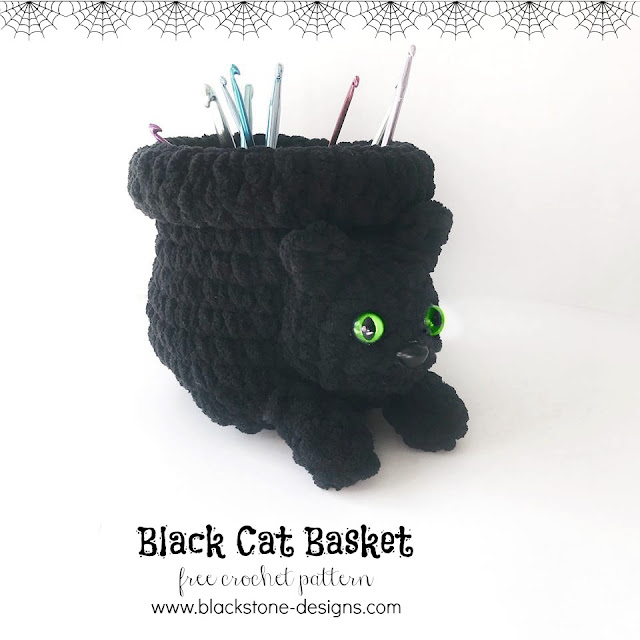
Now you have a Black Cat Basket!
I love seeing your finished projects! Join the Blackstone Designs Crochet Community or share them to my Facebook page!
Hope to see you there!!
And don’t forget to add this pattern to your Ravelry favorites and Pin it for later, so you can always find it!

Written pattern and photographs © 2018 Sonya Blackstone of Blackstone Designs. Please do not sell, share, or modify this pattern, but instead share the link to where the pattern can be found. You may sell items you make with this pattern. This pattern, as with all Blackstone Designs/Sonya Blackstone patterns, are not for educational use without written permission from the designer.
Sonya Blackstone is a participant in the Amazon Services LLC Associates Program, an affiliate advertising program designed to provide a means for us to earn fees by linking to Amazon.com and affiliated sites.


I just printed this out and will be making it but I have some Christmas projects to do first. I think it is so neat and can hardly wait to tr it.