
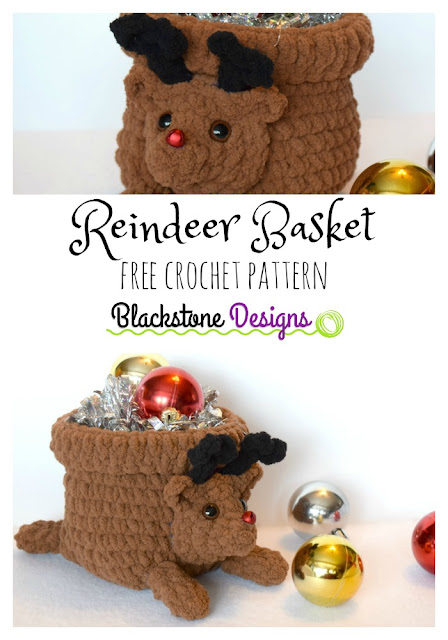
How to Make a Reindeer Basket – Free Crochet Pattern
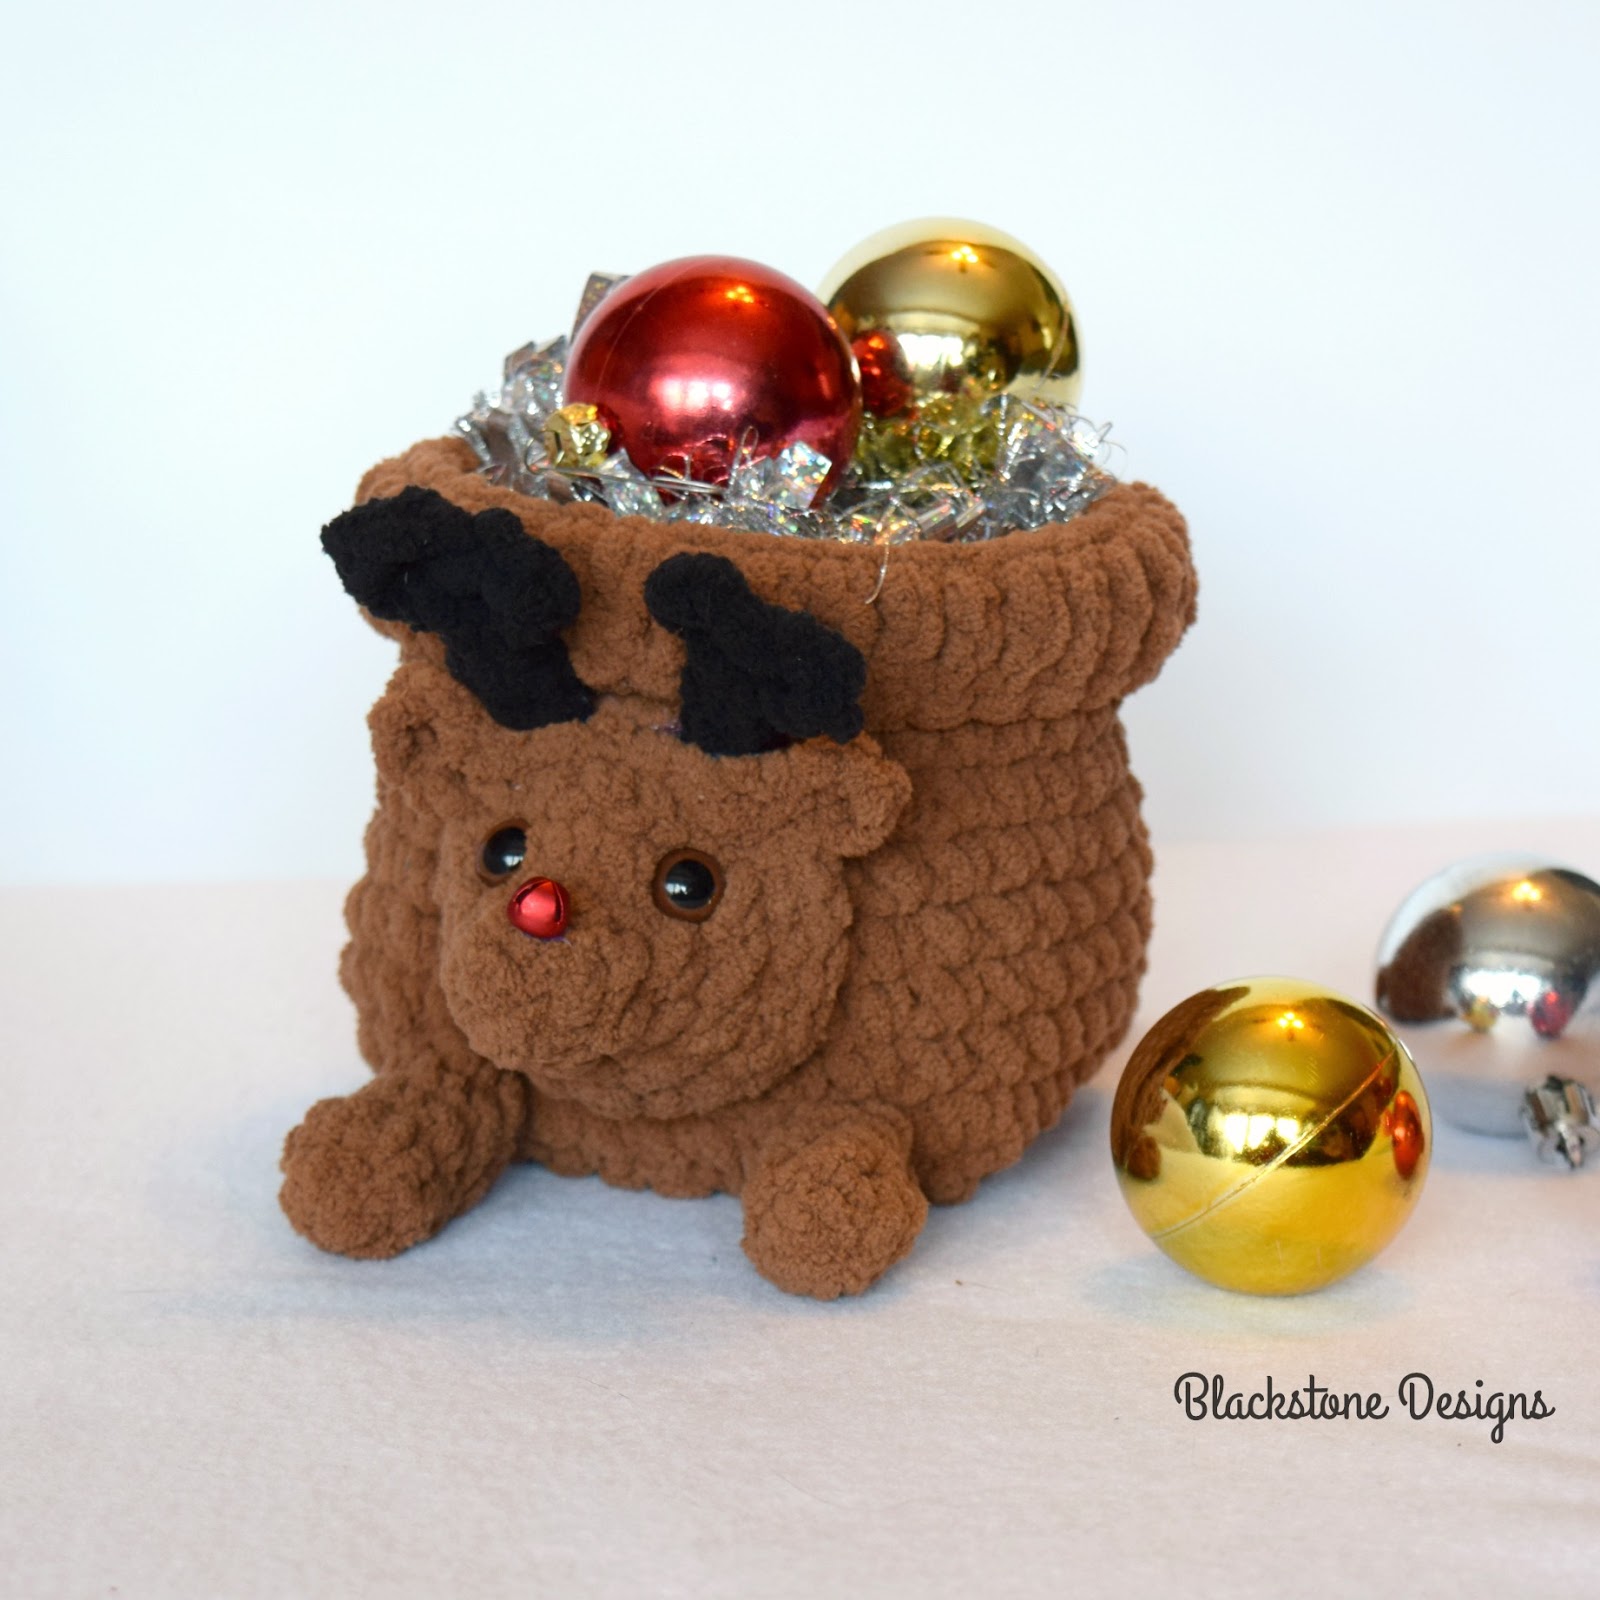
The Reindeer Basket is here! Of course we needed a Christmas version of this super cute square basket crochet pattern made with blanket yarn!
This post contains affiliate links. At no extra cost to you, I may receive a small commission from purchases made through affiliate links, which helps me to keep bringing awesome free content!
You can also get the Bird Baskets and Black Cat Basket patterns for free!
The Reindeer Basket is the perfect holiday addition! He’s small enough to be on your desktop or use him on the center of your kitchen table!
He also makes the perfect little holder for craft supplies, such as crochet hooks, paintbrushes, and even rolls of washi tape!
Let’s make a Reindeer Basket!
Materials
Super Bulky Weight Yarn (#6)
- Brown (2 oz)
- Black (1/2 oz)
K/10.5/6.50mm Hook
Poly-fil Stuffing
9mm Animal Eyes
10mm Red Jingle Bell or Safety Animal Nose
Gauge
Not important for this project
Size
Approximately 4 ¼” x 4 ¼” x 4 ¼”
Stitch Guide
arnd = around
ch = chain
dc = double crochet
FLO = front loop only
sc = single crochet
sl st(s) = slip stitch(es)
st(s) = stitch(es)
Skill Level
Easy
WRITTEN IN U.S. TERMS

Notes
- Beginning chains do not count as stitches
- Double strands of worsted weight yarn can be used in place of super bulky yarn.
Instructions
BASE
With Brown,
R1. Ch 11, sc in 2nd ch from hook and in each ch across, turn (10)
R2. Ch 1, sc across, turn (10)
R3-8. Repeat row 2
R9. Ch 1, sc in the end of each row and in each st arnd, sl st to join in 1st sc (36)
R10. Ch 1, sc in each st arnd, sl st to join in 1st sc (36)
R11-17. Repeat round 10
R18. Ch 2, FLO dc in each st arnd; Fasten.
Fold down round 18.
HEAD
With Brown,
R1. Magic ring, ch 1, 6 sc in ring (6)
R2. sc arnd (6)
R3. 2 sc arnd (12)
R4. *2 sc, sc* arnd (18)
R5. sc arnd (18)
R6. sl st, ch 5, sl st in same space ch started, sl st x 5, ch 5, sl st in same space ch started in, sl st in next st; Fasten. <Ears Created>
LEGS (Make 4)
With Brown,
R1. Magic ring, ch 1, 5 sc in ring (5)
R2-4. sc arnd; Fasten at the end of end 4. (5)
TAIL
With Brown,
Ch 5, fold in half and attach ends together.

ANTLERS
With Black,
Right Antler
Ch 7, sl st in 4th ch from hook, ch 3, sl st in same space ch started, sl st x 3; Fasten.
Left Antler
Ch 6, sl st in 3rd ch from hook, ch 4, sl st in same space ch started, sl st x 3; Fasten.
Finishing
- Insert safety eyes between rounds 4 & 5 on head, so they line up with the inner side of the ear, leaving 3 sts between them.
- Stuff head slightly (I used yarn scraps) and attach to the center of one side of basket, over rounds 10-14 approximately.
- Attach antlers between the ears, so they are up against their respective ear, with the ch-4 portion over the ear and the ch-3 portion pointing toward the center.
- Attach jingle bell to top center of nose on round 2.
- Attach tail to the side opposite of head, centered over round 10.
- Attach legs to bottom of basket, one stitch in from each corner (on the front and back), over round 9.
- Hide all strings.
And now you have an adorable Reindeer Basket!

I love seeing your finished projects! Join the Blackstone Designs Crochet Community or share them to my Facebook page!
Hope to see you there!!
And don’t forget to add this pattern to your Ravelry favorites and Pin it for later, so you can always find it!
Happy Crocheting!

Written pattern and photographs © 2018 Sonya Blackstone of Blackstone Designs. Please do not sell, share, or modify this pattern, but instead share the link to where the pattern can be found. You may sell items you make with this pattern. This pattern, as with all Blackstone Designs/Sonya Blackstone patterns, are not for educational use without written permission from the designer.
Sonya Blackstone is a participant in the Amazon Services LLC Associates Program, an affiliate advertising program designed to provide a means for us to earn fees by linking to Amazon.com and affiliated sites.


Looks cute. Can you tell me when the cat and bird patterns might be? The links you provided appear to be broken.
Hi Theresa!
The links have been updated.
-Sonya