Easy Peasy Crochet Pumpkin Pattern
There’s something magical about fall décor—especially when it’s handmade. This Easy Peasy Crochet Pumpkin is just that: a quick and easy project that adds the perfect rustic touch to your autumn decorating.
This post contains affiliate links. At no extra cost to you, I may receive a small commission from purchases made through affiliate links, which helps me to keep bringing awesome free content!
Whether you’re crafting for yourself, whipping up gifts, or stocking your fall market booth, this beginner-friendly crochet pumpkin will quickly become one of your go-to patterns.
The best part? It’s simple enough to finish in one sitting, customizable in color and size, and adds that warm, homemade charm that makes any space feel more festive.
Why You’ll Love the Easy Peasy Crochet Pumpkin
This crochet pumpkin isn’t just adorable—it’s functional, fast, and addicting. Once you make one, you’ll want to make a dozen in every color!
Here are a few reasons makers fall in love with this design:
Customizable: Make it big or small, soft and squishy or structured—whatever suits your décor style.
Beginner-friendly: Even if you’re new to crochet, this project is totally doable.
Quick finish: Great for last-minute gifts or craft fair stock.
Rustic charm: That chunky ribbed texture and natural wood stem give it a farmhouse vibe.
Great stash buster: Use up leftover yarn for a colorful fall display.
Yarn & Color Inspiration
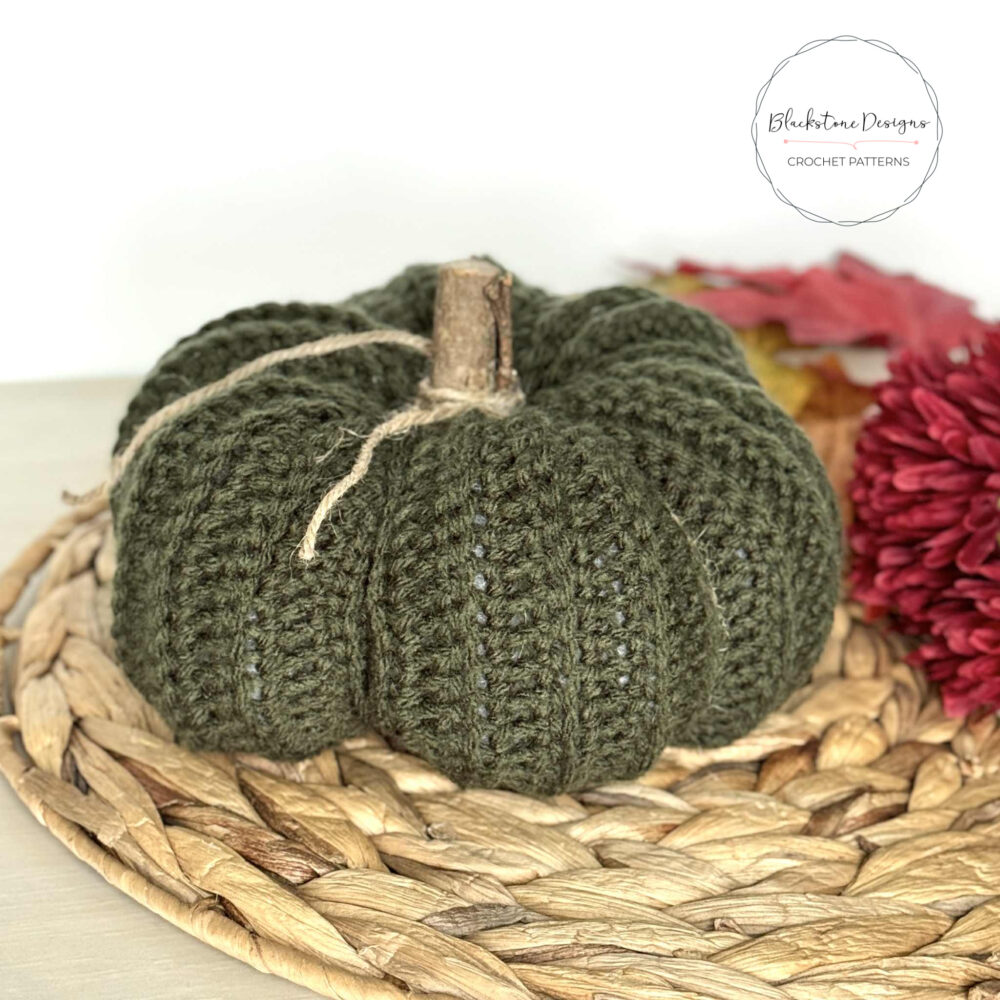
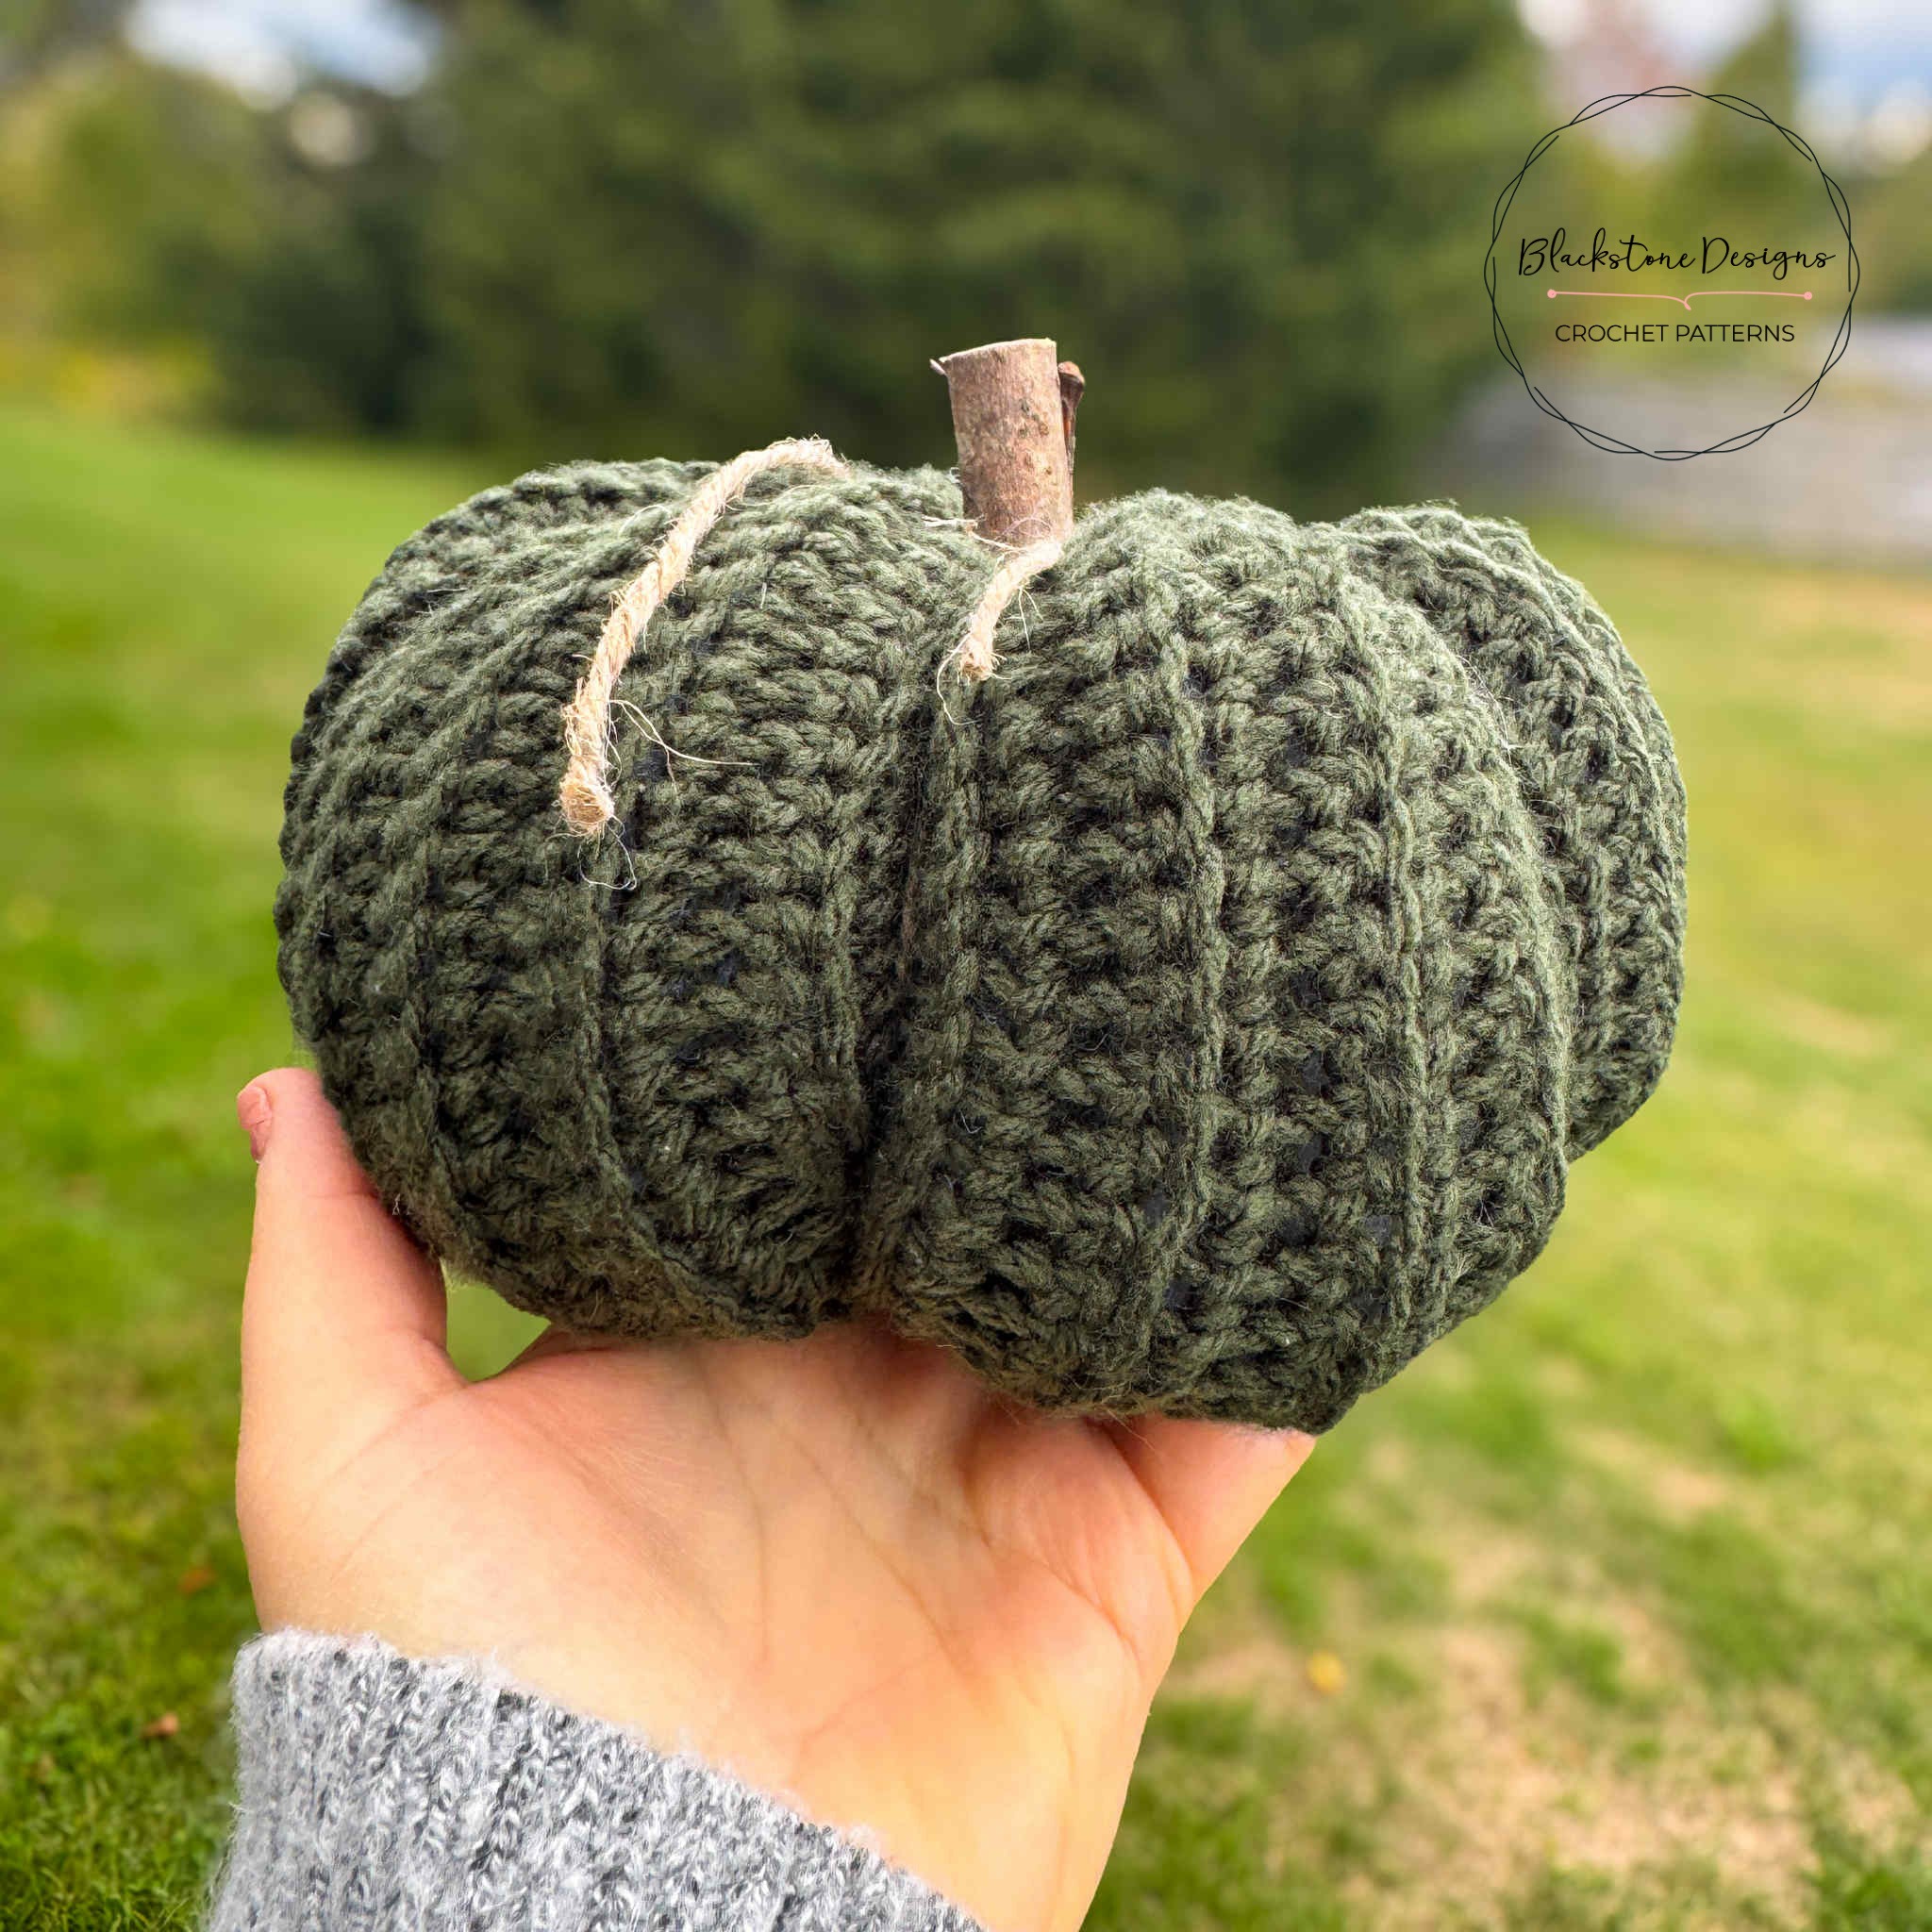
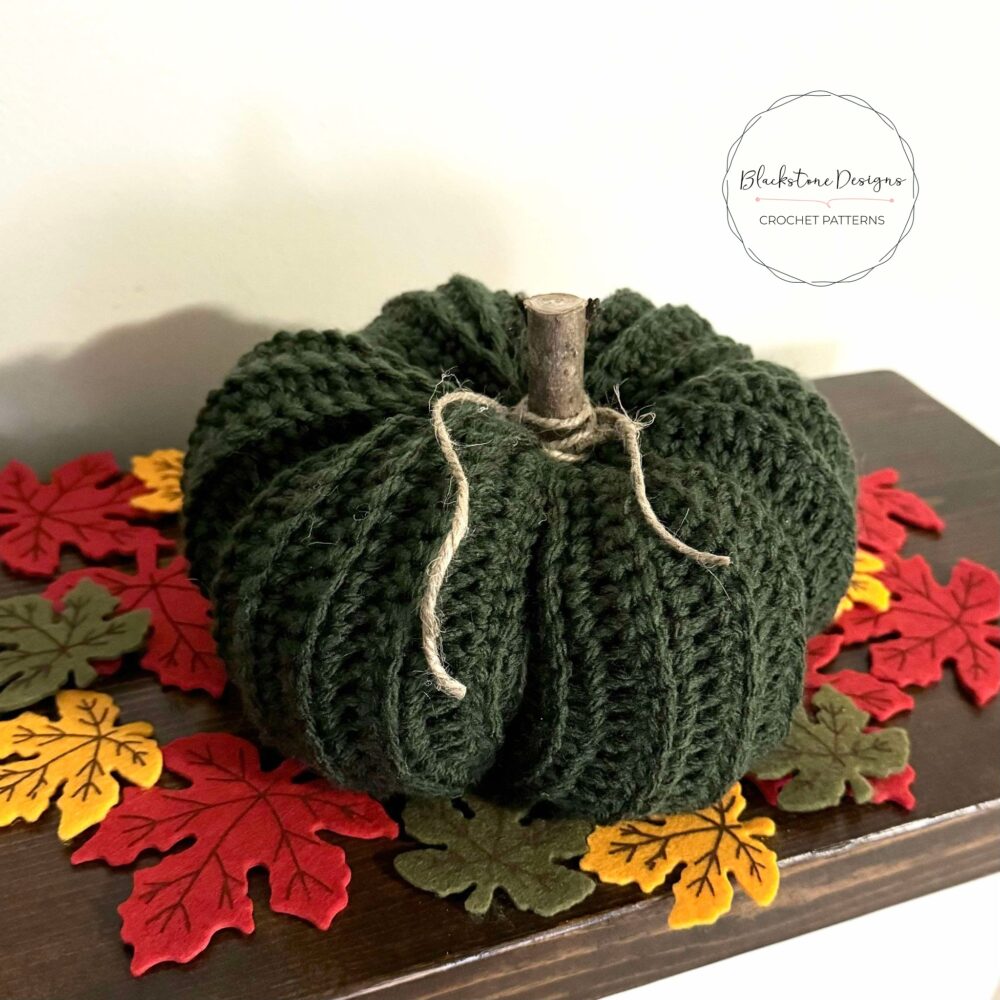
For the sample shown here, I used a deep olive green worsted weight yarn, paired with a natural wood sticks and a simple twine bow. It screams farmhouse chic and blends beautifully with neutral tones and autumn colors.
But this pattern can be worked up in any yarn fiber or color you love. Try:
- Rust orange for a traditional pumpkin feel
- Mustard yellow for warm, golden vibes
- Cream or white for a modern, neutral look
- Velvet yarn for a luxe, soft texture
- Multicolored yarns for something funky and fun
Don’t be afraid to experiment! Just remember that yarn weight will affect the final size, so if you’re using bulky yarn, expect a larger pumpkin (which can be so cute for centerpiece decor).
How It’s Constructed
The Easy Peasy Crochet Pumpkin is made using a simple rectangle. Once the rectangle is complete, it’s seamed to form a tube, gathered on both ends, and stuffed with fiberfill.
Then comes the fun part—adding your stem and embellishments! Here are a few creative options:
- Faux leaves, raffia bows, or twine wrap for a rustic look
- A real stick from your backyard (as shown in the photo)
- A cinnamon stick for a scented option
- A crocheted or polymer clay stem
Where to Use Your Crochet Pumpkins
These squishy pumpkins are more than just cute—they’re practical and versatile! Here are some fun ways to use them:
- Centerpiece for your fall table
- Mantel décor with other cozy elements like candles or pinecones
- Photo props for seasonal flat lays
- Craft fair bestsellers that fly off the table
- Place settings with a tag tied to the stem
- Teacher gifts, coworker gifts, or neighbor surprises
- Kid-friendly home décor that won’t break or shatter
And if you make several in different sizes, you can stack them for an adorable tiered pumpkin display!
Sizing Tips and Yarn Adjustments
This pattern is easily adjustable, so you can scale up or down based on your yarn choice or desired pumpkin size. Here’s a quick guide:
- Smaller pumpkins: Use DK or sport weight yarn and a smaller hook
- Larger pumpkins: Use bulky or chenille yarn and a larger hook
- More defined ridges: Add tighter gathers or increase your stitch count
- More texture: Try working in back loops only or use a ribbed stitch
Play around with proportions—some makers love wide and chunky pumpkins, while others go for a tall and narrow look. Both are equally cute!
Craft Fair Gold: Why Sellers Love This Pattern
If you’re preparing for a fall market or seasonal pop-up, the Easy Peasy Crochet Pumpkin is a must-have for your inventory. Here’s why:
- They’re super fast to make in bulk
- Great for using up yarn scraps
- Easy to price affordably
- They draw attention with their homey, rustic appeal
- You can offer custom colors or sets
- They’re lightweight and easy to transport
And since fall décor never goes out of style, these will stay popular year after year. Pair them with other handmade seasonal items—like napkin rings, coasters, or placemats—for a full autumn-themed table set.
Personalizing Your Pumpkin
One of the joys of crochet is the ability to make something truly unique. With this pumpkin, you can:
- Add embroidery (like leaves or initials)
- Attach a tag that says “thankful” or “hello fall”
- Use glow-in-the-dark yarn for a fun Halloween twist
- Create a garland by stringing several small pumpkins together
- Scent them by adding cloves or cinnamon inside the stuffing
If you’re gifting them, consider making a little gift tag with care instructions or a seasonal message. Handmade gifts always feel extra special when they come with a personal touch.
What Can I Use for Pumpkin Stems?
One of the easiest ways to make your crochet pumpkin unique is by switching up the stem. While the Easy Peasy Crochet Pumpkin pattern includes instructions for a simple crocheted stem, you can really have fun experimenting with different materials. Each option brings its own personality to the finished project, so you can match your pumpkins to your home décor style or the overall vibe you’re going for. Here are some creative alternatives to try:
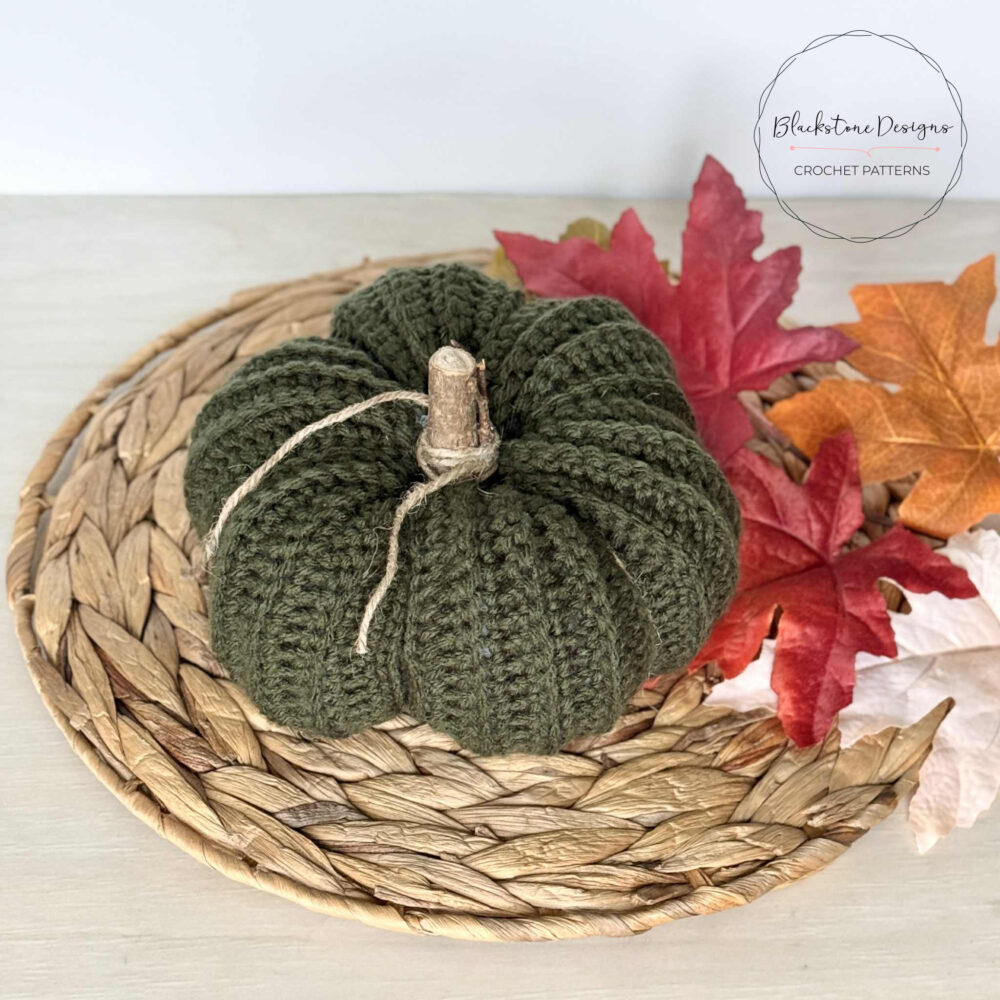
1. Natural Sticks and Twigs (Shown)
For a rustic farmhouse look, nothing beats using real wood. Head outside, gather a few fallen sticks or twigs, and trim them to size. You can leave them natural, sand them lightly, or even remove the bark and stain them for a polished finish. This option pairs beautifully with neutral-colored pumpkins.
2. Cinnamon Sticks
Want your pumpkins to smell as good as they look? Cinnamon sticks make the perfect pumpkin stems—and they double as a natural air freshener. Their warm, spicy scent fills the room and adds to the cozy fall atmosphere. Try tying a little raffia or twine around the base for that extra touch of charm.
3. Wine Corks
Recycling at its cutest! Wine corks make excellent pumpkin stems because they’re already the right shape and size. You can cut them down for smaller pumpkins or leave them whole for larger ones. If you want to get fancy, paint or stain them to coordinate with your yarn colors.
4. Polymer Clay Stems
If you love crafting beyond crochet, polymer clay stems are a fun way to add durability and detail. You can sculpt them to look realistic, twist them for a whimsical effect, or even paint them for a glossy finish. These are great if you want a set of pumpkins with long-lasting stems that hold up year after year.
5. Wooden Dowels or Craft Sticks
For a simple and sturdy stem, wooden dowels cut to size work perfectly. You can leave them natural for a clean look, stain them for a farmhouse feel, or paint them in fun colors for a modern twist. Craft sticks (like popsicle sticks) can also be trimmed and glued into place for a smaller stem option.
6. Faux Floral Stems and Greenery
Craft stores are a treasure trove when it comes to faux greenery and floral picks. You can cut down the stems from silk flowers or even use pieces of faux vines to give your pumpkin a more decorative touch. Some makers even add a few faux leaves alongside the stem to make the pumpkin look freshly picked from the patch!
7. Crocheted Stems
And of course, you can always stick with the crocheted stem option included in the pattern. This is a great choice if you want the whole project to be soft, kid-friendly, and washable. Crocheted stems are especially nice for gift pumpkins or for use in kids’ rooms where natural sticks or corks might not be as practical.
Pro Tip: Don’t be afraid to combine a few ideas! For example, use a cinnamon stick as the main stem and tuck a faux leaf or two around the base. Or pair a wine cork stem with a little twine bow for a farmhouse finish. The stem is your chance to add personality and make your crochet pumpkin uniquely yours.
How to Get the Easy Peasy Crochet Pumpkin Pattern
Easy Peasy Crochet Pumpkin Pattern
Option 1: Continue scrolling for free pattern instructions on this site
Option 2: Purchase the ad-free PDF that includes tutorial photos from one of my shops
About the Materials
The crochet pumpkin shown was made with 100% Acrylic Worsted Weight Yarn, specifically I Love this Yarn in the colorway Dark Olive. Good substitutes for this yarn are Knit Picks Brava and Lion Brand Basic Stitch. because there are lots of colors to choose from, but you can use whatever yarns you like!
You will also need an H/8/5.00mm crochet hook, fiberfill stuffing, yarn needles for forming the pumpkin shape. Personally, I use hot glue to attach stems to the pumpkins, so you may also want a hot glue gun and sticks!
The Crochet Pattern
Keep reading for a list of what you need to make this beginner-friendly crochet pumpkin, including the stitch pattern instructions!

Gauge
14 sc x 18 rows = 4”
Not critical for this project
Finished Measurements
Varies by stitch and row count
Shown: 7”D x 3.5”H (23.5” x 8.5” Strip)
Stitch Guide
BLO = back loop only
ch = chain
sc = single crochet
sl st(s) = slip stitch(es)
Skill Level
Beginner
Pattern Written in U.S. Terms
Notes
- Beginning chains do not count as stitches.
- Each strip should be a rectangle when finished.
- I did the following stitches/rows: Ch 31 x 55 rows. Ch 31 = 8.5”H strip = 3.5”H when finished and 55 Rows = 23.5”W strip = 7”D when finished.
Instructions
PUMPKIN
With Any Color,
R1. Working in the back bump of the chain across: Chain any number, sc in 2nd chain from hook and in each ch across, turn
R2. Ch 1, BLO sc across, turn
Repeat R3 until fabric measures desired width; Fasten leaving long tail for cinching one end.
STEM
With Any Color,
R1. Make magic ring, ch 1, 6 sc in ring (6)
R2. 2 sc arnd (12)
R3-10. Repeat R10 to desired height
R11. FLO 2 sc in each st arnd; Fasten.
Finishing
- Fold strip in half and sew short sides together.
- Weave tail in and out of bottom, pull strings to cinch, then stitch closed.
- Flip right side out and stuff it firm (don’t overfill and stretch the stitches).
- Weave tail in and out of top, pull strings to cinch, then stitch closed.
- Create sections around the pumpkin by inserting a “threaded” needle in through the bottom center of the pumpkin and out through the top center, then back in through the bottom; pull string to cinch pumpkin slightly. Repeat this 5 more times, then adjust loops to make sections even. I used twine for creating the sections too.
- Add stem to top center of pumpkins (or to center of top pumpkin only if making stacked pumpkins).
- Optional: I made a stem from twigs and twine. Hold the twigs in a bundle and glue together. Then wrap twine around the base, leaving long tails, and glue into place. Then glue stem to top of pumpkin.
- Hide all strings.
That’s the Easy Peasy Crochet Pumpkin Pattern!
The Easy Peasy Crochet Pumpkin pattern lives up to its name—quick, fun, and oh-so-cute. Whether you’re decorating your home for fall, preparing for a craft fair, or just want a satisfying evening project, this little pumpkin is a great addition to your seasonal crochet collection.
Don’t forget to share!
If you make the Easy Peasy Crochet Pumpkin, I’d love to see them! Tag me on Instagram at @blackstone_designs or use the hashtag #EasyPeasyPumpkin so I can share your makes with the community.
Join our crochet community group!
Come on over and join the Blackstone Designs Crochet Community on Facebook for fun CALs and giveaways, plus exclusive sales, pattern support, and so much more!
Happy Crocheting!

Written pattern and photographs © 2025 Sonya Blackstone of Blackstone Designs. Do not sell, share, or modify this pattern, but instead share the link to where the pattern can be found. You may sell items you make with this pattern. This pattern, as with all Blackstone Designs/Sonya Blackstone patterns, are not for educational use without written permission from the designer. All rights reserved.
Sonya Blackstone is a participant in the Amazon Services LLC Associates Program, an affiliate advertising program designed to provide a means for us to earn fees by linking to Amazon.com and affiliated sites.