
How to Make a Snowglobe Ornament – Free Crochet Pattern
Snowglobes are one of the prettiest decorations ever, so I thought a Crochet Snowglobe Ornament would be so fun to put on a tree!
Of course there are others out there, but what makes this one super fun is that you can add your own little confetti decor or even put a photo inside!
This post contains affiliate links. At no extra cost to you, I may receive a small commission from purchases made through affiliate links, which helps me to keep bringing awesome free content!
Confession: I’ve actually had this ornament tutorial ready to be published since mid-August and intended to publish it at the beginning of September. Eek.
I’m glad to finally be getting it up on the blog and that there is still time to make several of these! They only take about 30 minutes each!
It only takes scrap materials and of course a crochet hook.

Here’s what you’ll need to make a Crochet Snowglobe Ornament:

Snowglobe Ornament Crochet Pattern
Option 1: Continue scrolling for free pattern instructions on this site
Option 2: Purchase the ad-free PDF that includes tutorial photos from one of my shops
Option 3: Purchase the Vol. 1 “15 Christmas Crochet Patterns” eBook
Materials
1/4 Yard of Clear Vinyl (8-14 Gauge) [See Notes]
Worsted Weight Yarn (#4) [Scraps]
-Snowglobe edge color
-Snowglobe Base Color
H/8/5.00mm Crochet Hook
3 – 3.5″ Circle Punch
Rotary Cutter or Scissors
One-Hole Punch
Optional Materials
Sequins
Snowflake Confetti
Buttons
Fabric Clips
Photographs
Stitch Guide
arnd = around
ch = chain
sc = single crochet
Gauge
Not Important for this project
Finished Measurements
Varies by desired size.
I cut my circles to 3.5″ and got a finished size of 3.75″W x 4.75″H
Skill Level
Confident Beginner
Written in U.S. Terms


Notes
- I used 100% cotton yarn because it is stiff and will hold shape better.
- Vinyl comes in gauges. The higher the number, the thicker the vinyl is. 4 Gauge is super thin and flimsy, 40 gauge is super thick and tough to hole punch.
- A yard of fabric = 36″H, 1/4 yard of fabric = 9″H, but the width is 54″ wide, so 1/4 yard of fabric will be 9″ x 54″. Vinyl doesn’t have a specific cutting direction.
- There is no stitch count listed because the stitch count will depend on how many holes you add to your vinyl.
- You can easily adjust the size of the finished ornament but cutting your circles smaller or larger. Just cut the vinyl pieces to your desired measurements before adding the holes. The pattern will still work up the same way, no matter what measurements are used.
- This pattern can be worked without crochet: just sew with a whip stitch in the holes instead!
Instructions
VINYL PREP / CUTTING
Cut vinyl circles to desired size (2 pieces per ornament)– I traced a coffee mug top and got 3.5″ circles.

Hold two circles together and clip in place as needed, so the vinyl doesn’t slip.
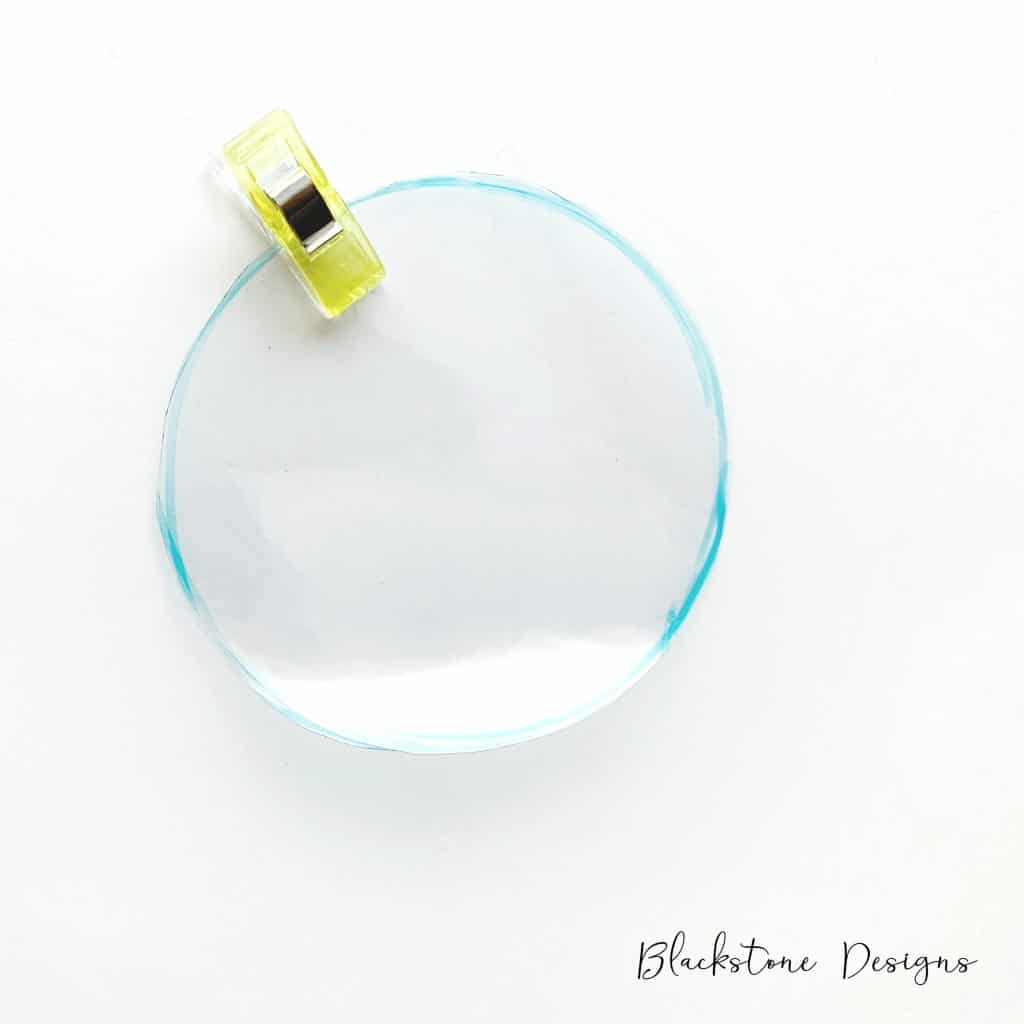
Punch holes all the way around the outside, leaving 1/2″ space between them. Be careful not to punch holes too close to the outer edge.

NOTE: You can sew through the holes instead of crocheting! Just thread your needle and make 3-4 passes through each hole using the whip stitch!
STITCHING AROUND SNOWGLOBE
Keeping holes lined up:
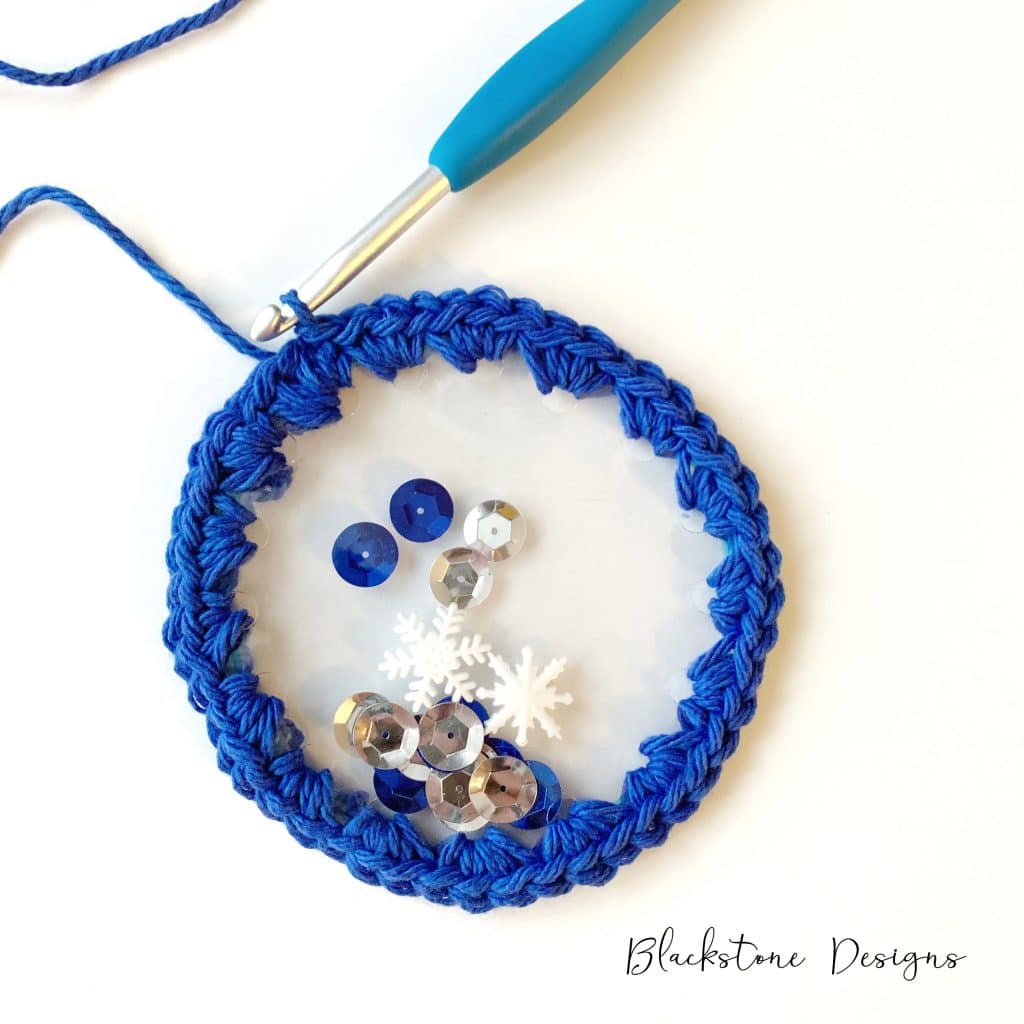
Insert hook in any hole and attach yarn,
Ch 1, 3 sc in each hole around, leaving approximately 2″ unworked.
Insert decorations and/or photographs.

Finishing stitching around.
SNOWGLOBE BASE
Find bottom 9 (center) stitches: Attach yarn to bottom right stitch,
R1. Ch 1, sc same stitch and next 8 stitches, turn (9)
R2. Ch 1, 2 sc, sc x 7, 2 sc in last, turn (11)
R3. Ch 1, 2 sc, sc x 9, 2 sc in last, turn (13)
R4. Ch 1, 2 sc, sc x 11, 2 sc, turn; Fasten. (15)

R5. Attach yarn to edge of row 1, sl st in the end of each row down the side, in each st across the bottom, and in each row up the other side; Fasten. (23)
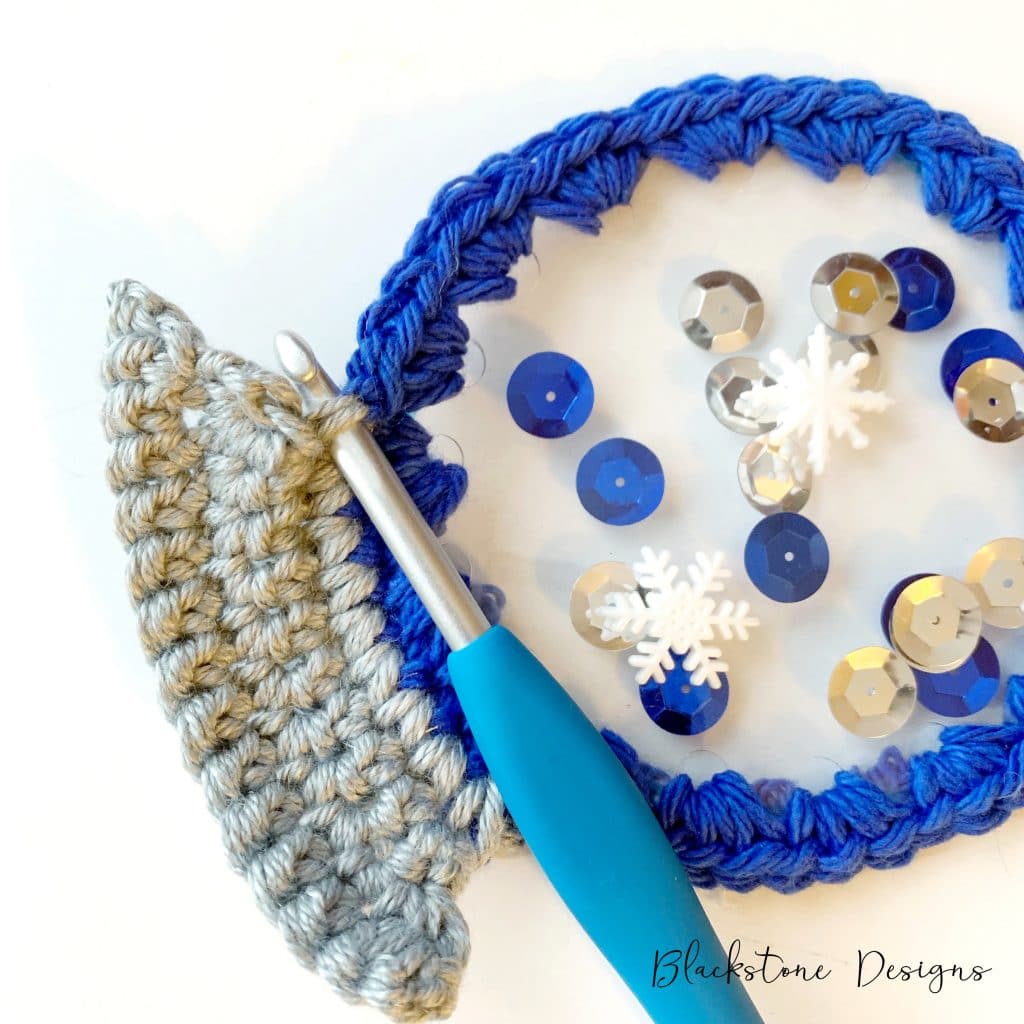
That’s it! Now you have a Crochet Snowglobe Ornament!
Finishing
- Add a yarn tail or ornament hanger to top center stitch or hole.
- Hide all strings.
- Optional: Stitch or 3-D Paint names on the bottom.
- Optional: Add stickers, gem stickers, or adhesive vinyl as decorations on the outside!
Come on over and join the Blackstone Designs Crochet Community on Facebook! You can also follow my Facebook page or Instagram!
Written pattern and photographs ©2019 Sonya Blackstone of Blackstone Designs. Please do not sell, share, or modify this pattern, but instead share the link to where the pattern can be found. You may sell items you make with this pattern. This pattern, as with all Blackstone Designs/Sonya Blackstone patterns, are not for educational use without written permission from the designer.
Sonya Blackstone is a participant in the Amazon Services LLC Associates Program, an affiliate advertising program designed to provide a means for us to earn fees by linking to Amazon.com and affiliated sites.


I really ❤️ Snow globes.
I really ❤️ Crocheting.
I really ❤️❤️❤️ this
SO awesome~~~:)
Thank you! <3
Hi Sonya and thank you for these patterns!
I’m just wondering if instead of vinyl, there is a household material I could use.
Thanks in advance, for a yes or no, lol!
Hi Kay!
You certainly could try sandwich or freezer baggies! They won’t be as sturdy, since the material is thinner, but they would work the same otherwise. Let me know if you try it, I’m curious to know how it turns out!
-Sonya