
How to Make a Santa Belly Pot Holder – Free Crochet Pattern
I designed the Santa Belly Pot Holder because the holidays are fast approaching and that means it’s time to prep for all that cooking! What better way to enjoy the activity than with cute crochet pot holders?
This post contains affiliate links. At no extra cost to you, I may receive a small commission from purchases made through affiliate links, which helps me to keep bringing awesome free content!
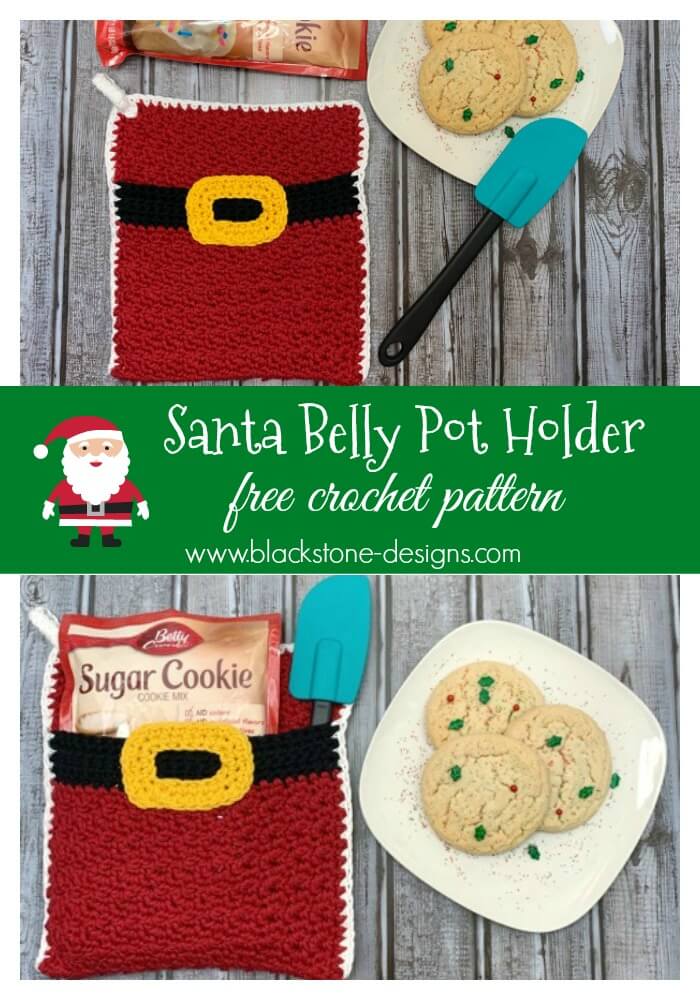
Add a dash of festive charm to your kitchen with this adorable Santa Belly Pot Holder! Designed to capture the jolly essence of Santa’s iconic red suit, this potholder features a bold red background, a classic black belt with a golden buckle, and delightful detailing that makes it perfect for the holiday season.
Not only is it a cheerful decorative piece, but it’s also functional and durable, providing heat protection for all your holiday baking and cooking needs. Whether you’re hosting a Christmas feast or looking for a thoughtful handmade gift, this Santa Belly Pot Holder will bring a smile to everyone’s face.
7 Reasons to Crochet a Santa Belly Pot Holder
- Spread Holiday Cheer
It’s a festive and cheerful addition to your kitchen or dining space, perfect for creating a warm and welcoming holiday atmosphere. - Personalized Handmade Gift
A crocheted Santa belly potholder makes a thoughtful, unique gift for family, friends, or holiday party hosts. Handmade gifts always carry a special charm! - Practical and Decorative
Not only does it add a festive touch to your home, but it’s also functional for protecting your hands and surfaces while cooking and baking. - Fun and Creative Craft Project
Crocheting this potholder is an enjoyable way to embrace the holiday spirit while improving your crochet skills with fun textures and patterns. - Budget-Friendly Decor
Making your own holiday decor is often more cost-effective than buying ready-made items, and you can customize it to your liking. - Eco-Friendly Option
Handmade items are a sustainable alternative to store-bought holiday decor and gifts, reducing waste and overconsumption. - Great for Craft Fairs or Sales
This charming potholder can be a hit at holiday craft fairs or as part of your seasonal product line for selling handmade items.
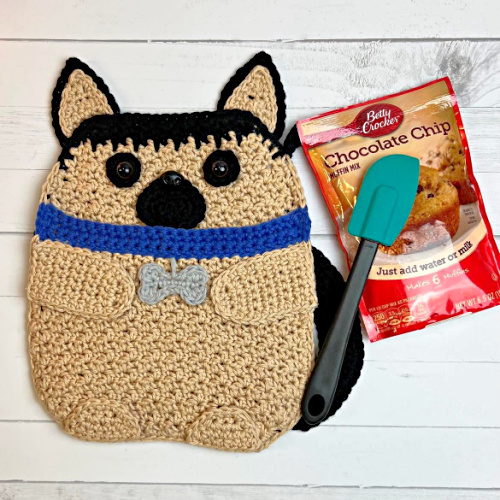
If you like this pattern, you may also like the Snowman Belly Pot Holder, Gingerbread Belly Pot Holder, and an Elf Belly Pot Holder!
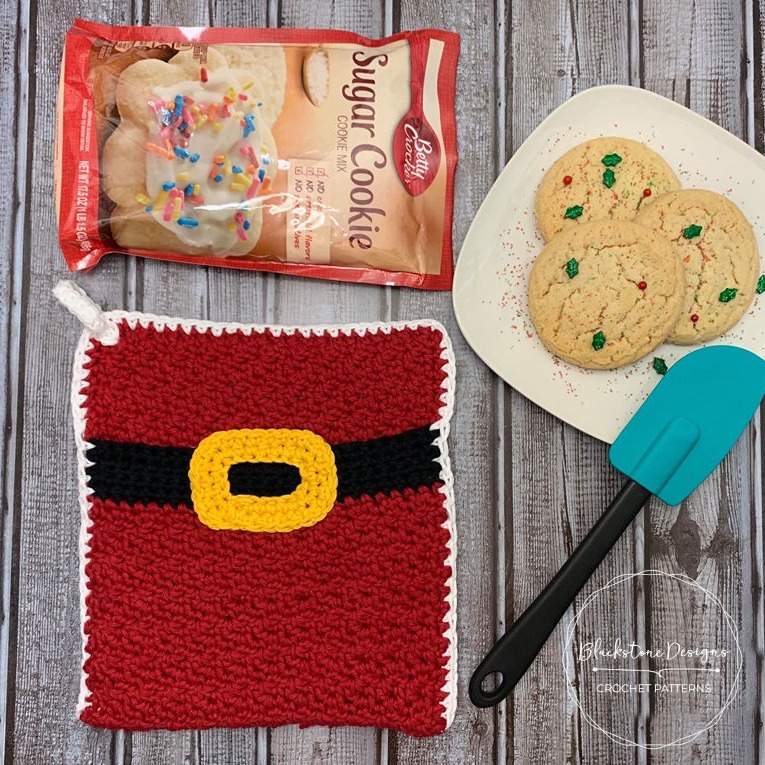
Santa Belly Pot Holder Crochet Pattern
Option 1: Continue scrolling for free pattern instructions on this site
Option 2: Purchase the ad-free PDF that includes tutorial photos from one of my shops
Let’s make a Santa Belly Pot Holder!
Materials
Paintbox Yarns Cotton Aran (#4) [or comparable 100% cotton yarn]
–Red [3.5oz/100g]
–Black [1oz/30g]
–Yellow [Scraps]
–White [Scraps]
I/9/5.50mm
Yarn Needle
1/4 yd 100% Cotton Batting (Optional, but recommended)
Scissors or Rotary Cutter (For cutting batting)
>>Get this yarn on LoveCrafts.com. First time buyers can save 15% on their order by clicking this link!
Stitch Guide
arnd = around
ch = chain
dc = double crochet
sc = single crochet
sl st(s) = slip stitch(es)
Gauge
12 sts x 12 rows = 4″
Gauge is not critical for this project
Finished Measurements
8.25″W x 8.75″H
Skill Level
Easy
Written in U.S. Terms

Notes
- Batting is used for heat resistance. This will provide more padding and protection from hot surfaces, however, two layers of crocheted cotton is typically thick enough for short term protection (from oven to stove top). Cotton Batting can be found in any store that sells fabric.
- 100% cotton yarn (and batting) is required. Acrylics can melt if they become too hot.
- A yard of fabric (batting) = 36″H, 1/4 yard of fabric = 9″H, but the width is 54″ wide and batting doesn’t have a specific cutting direction.
- Beginning chains do not count as stitches.
- For the first 4 rows (black belt) use a loose tension to avoid pulling and puckering once you add the body. If you have difficulty loosening your tension, use a J/10/6.00mm crochet hook for these rows.
Instructions
With Black,
R1. Ch 25, sc in the back bump of the 2nd ch and in each ch across, turn (24)
R2. Ch 1, sc in each st across, turn (24)
R3-4. Repeat R2
With Red,
R5. Repeat R2
R6. Ch 1, *sc, dc* across, turn (24)
R7-44. Repeat R6; Fasten at the end of R44. (24)
SMALL PANEL
With Red,
R1. Ch 25, sc in the back bump of the 2nd ch and in each ch across, turn (24)
R2. Ch 1, *sc, dc* across, turn (24)
R3-25. Repeat R2; Fasten at the end of R25. (24)
BUCKLE
With Yellow,
R1. Ch 20, join to form a ring; Working in the back bump of the chains: Ch 1, *sc x 6, 2 sc, sc x 2, 2 sc* 2X, sl st to join in the 1st sc, do not turn (24)
R2. Ch 1, sc in same space as ch, sc x 5, 2 sc x 2, sc x 2, 2 sc x 2, sc x 6, 2 sc x 2, sc x 2, 2 sc x 2, sl st to join in the 1st sc; Fasten.
HANGER
Ch 16, sc in back bump of 2nd ch and across; Fasten. (15)
Finishing
- Lay large panel flat and lay batting over the bottom edge (red edge).
- Lay small red panel over the batting, lining up the bottom edges.
- Thread needle with red yarn and insert needle from front to back, then from back to front one stitch over, close to the upper right corner. Tie tails into a knot. — Repeat this step 8 more times in the following locations: right center, bottom right corner, bottom middle, center, upper middle, upper left corner, left center, bottom left corner. <This step tacks the 3 layers together and holds the batting in place. >
- Insert hook under the small panel and pull the tails and knots to the inside of the pot holder to hide them.
- Fold the remaining portion of the large panel up over the batting and small panel. Pin into place as needed. <Front pocket created>
- Insert hook in bottom right corner, through all 3 layers, and single crochet in the same space and in end of each row up the side, in each stitch across the top, and in the end of each row down the left edge. Fasten. Make sure you’re working through all crochet layers around. Do not crochet across the top of the pocket.
- Attach buckle to the center of the black belt.
- Attach hanger to upper left corner as desired.


Click on the links below to get to the other patterns in this CAL:
Snowman Belly Pot Holder – Blackstone Designs
Buffalo Plaid Kitchen Towel – A Crocheted Simplicity
Loving the Santa Belly Pot Holder?
You can get a matching Santa Belly Flatware Holder pattern right here on this blog!


Happy Crocheting!

Written pattern and photographs ©2019 Sonya Blackstone of Blackstone Designs. Please do not sell, share, or modify this pattern, but instead share the link to where the pattern can be found. You may sell items you make with this pattern. This pattern, as with all Blackstone Designs/Sonya Blackstone patterns, are not for educational use without written permission from the designer.
Sonya Blackstone is a participant in the Amazon Services LLC Associates Program, an affiliate advertising program designed to provide a means for us to earn fees by linking to Amazon.com and affiliated sites.


What kind of fabric is used for the 1 yard of fabric. Also, where is it used? Sorry, it isn’t clear to me. Thanks for such a cute pattern.
Hi Peggy!
The “fabric” used is called batting. You would want it to be made with 100% cotton. You won’t need a full yard unless you’re making several. A quarter of a yard will be enough.
-Sonya
This is so cute
This is perfect for the bags we do for the family at Christmas! Thanks!
love these– awesome idea to add a “mix” and spatula with it —
How many pot holders did you make with the batting that you gave us the link for?
I have only made 5 pot holder (the samples I’ve shared). You could get somewhere around 120 pot holders from that one sheet of queen size batting according to the 90″ x 108″ measurements.
Is there a video to follow to crochet these? I’m having trouble with how to crochet the buckle for Santa. Sc x 6 does that mean all in 1 chain.
Hi Tracy!
sc x 6 = 1 sc over the next 6 chains/stitches/spaces…
Can you please help me out with this?? I don’t understand *sc x 6, 2 sc, sc x 2, 2 sc* 2x on round 1 and round 2 is sc x 5, 2 sc x 2, sc x 2, 2 sc x 2, sc x 6, 2 sc x 2, sc x 2, 2 sc x 2. I don’t understand the wording you did for the stitches.
Hi Amanda!
sc x 6 = sc one time in the next 6 stitches
2 sc = sc two times in one stitch
2 sc x 2 = sc two times in the next two stitches
I hope that helps!
-Sonya
Hello, what are the dimensions of the small panel supposed to be??
Hi Becky!
The small panel measurements will vary depending on the way each person crochets (gauge changes).
-Sonya
What size batting do you cut?
Hi Casey!
I found it easier to make the small panel first and then cut the batting to be 1/8-1/4″ shorter on each side.
Since everyone crochets a bit differently and gauge can vary, it’s easier to cut it that way than it is to give a measurement.
-Sonya
I love your Christmas hot pads, etc. How can I forward this pattern to my new email, so I can print? Thank you for sharing your patterns. Generous!
Hi Sherry!
You can copy the link to the post, paste it an email, and then send an email to yourself!
-Sonya
Hello! Love this cute pattern.
Which part of the pattern is for the white border? Is that the part in the “finishing” section?
Thank you!
Hi Autumn!
The white is the border around the edge… but you could also do that in red or black if you prefer!
-Sonya
Yes of course. I meant I didn’t see anywhere in your pattern that’s specified the white yarn part. Is it for this part
“Insert hook in bottom right corner, through all 3 layers, and single crochet in the same space and in end of each row up the side, in each stitch across the top, and in the end of each row down the left edge. Fasten. Make sure you’re working through all crochet layers around. Do not crochet across the top of the pocket.”.
Yes! It is for the joining! I didn’t specify white because any color can be used for that part.
can you please clarify your directions? When you say sc x 2 is that 2 in the same stitch? Then 2sc is 2 stitches in a row?
Hi Mindy!
sc x 2 = 1 sc in the next two stitches
2 sc = 2 sc in the same space
-Sonya