Tunisian Watermelon Bag – Free Tunisian Crochet Pattern
What’s better than a slice of juicy watermelon on a hot summer day? A cute handmade Tunisian Watermelon Bag to match the vibe! Whether you’re heading to the farmers market, a summer picnic, or just want to show off your love of fruit-themed accessories, this bag is as fun to make as it is to carry.
This post contains affiliate links. At no extra cost to you, I may receive a small commission from purchases made through affiliate links, which helps me to keep bringing awesome free content!
What is the Tunisian Watermelon Bag?
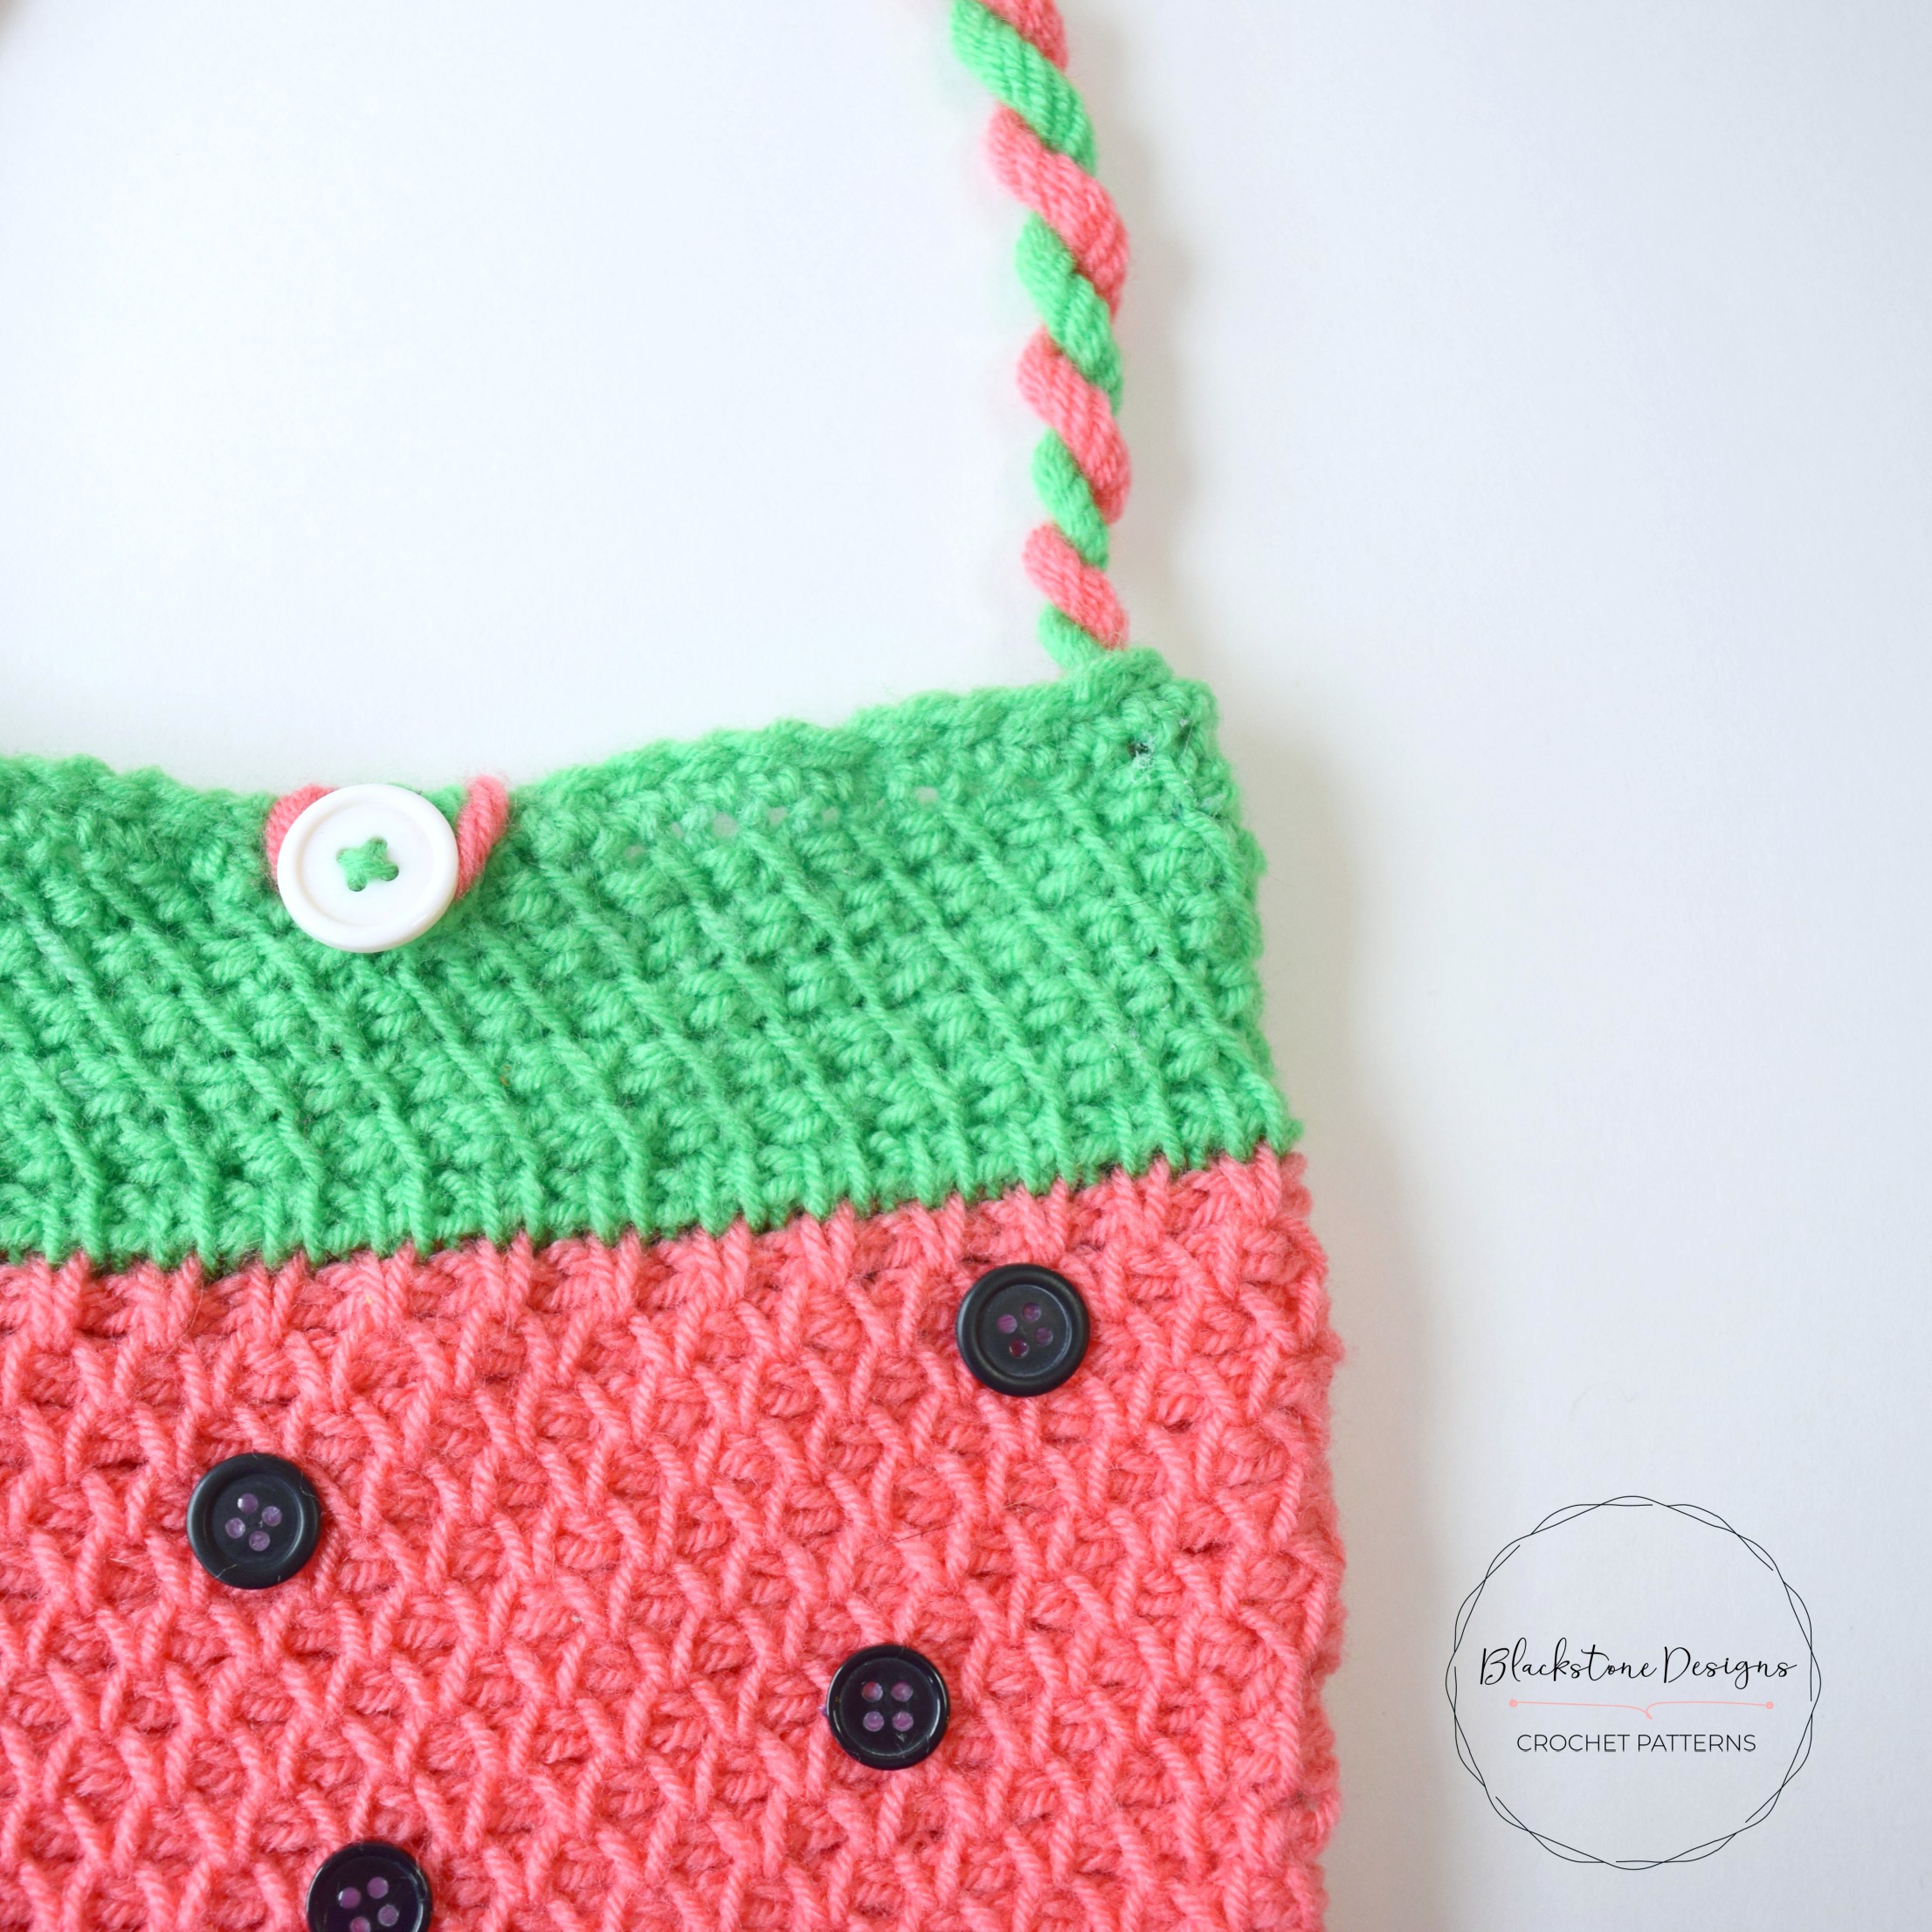
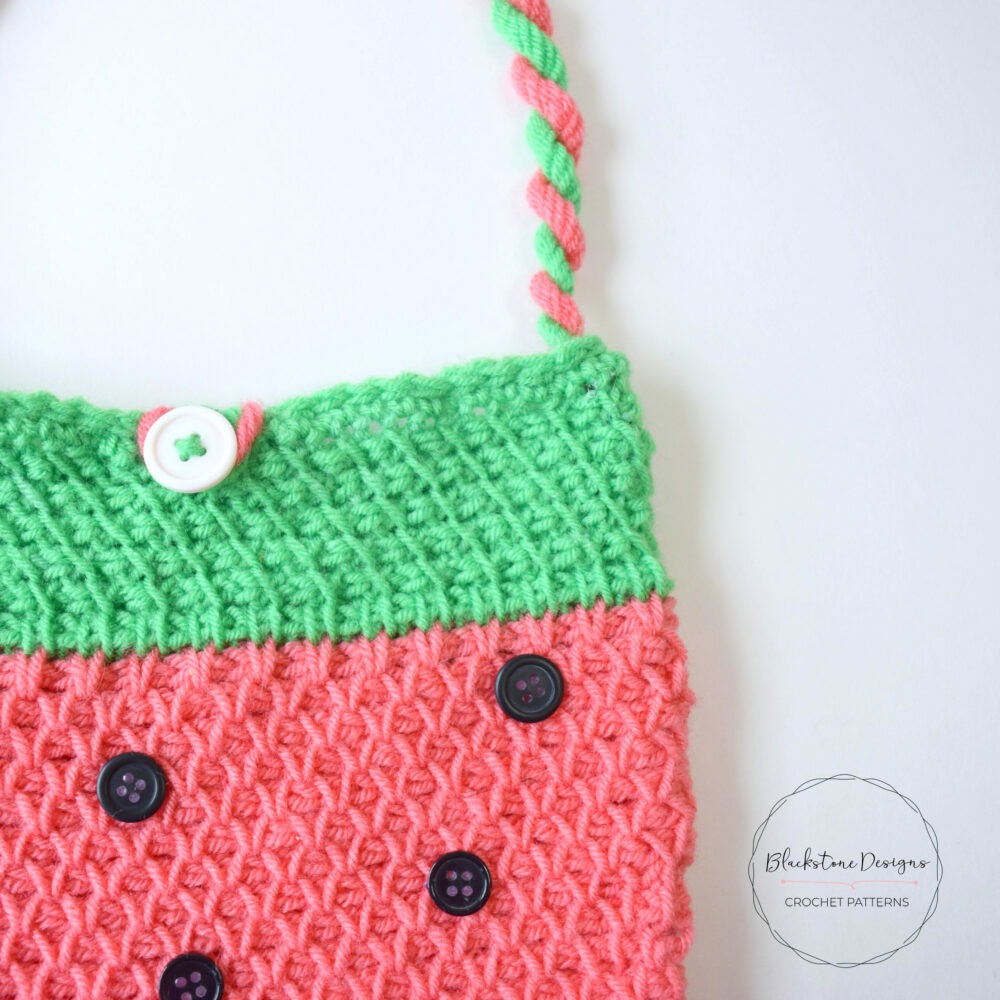
The Tunisian Watermelon Bag is a cheerful, fruity shoulder bag made using Tunisian crochet stitches, a technique that bridges the gap between crochet and knitting. It features a textured pink stitch body, a green top to mimic the watermelon rind, and fun black “seeds” made from buttons! The strap is a chunky twist of pink and green yarn for a sweet finishing touch.
This bag is the perfect stash-buster and a great introduction to Tunisian crochet if you’re new to the technique. It’s worked flat and seamed, so you don’t need to worry about anything too complicated.
Why You’ll Love This Project
- Beginner-friendly Tunisian crochet stitches
- Bright, summery colors that pop
- Great stash-busting project
- Functional and super cute
- Makes a fun handmade gift for kids, teens, or watermelon lovers
If you’re looking for a whimsical summer crochet pattern, this one checks all the boxes!
The Stitches You’ll Use
This project focuses on one of the most popular Tunisian stitches:
- Tunisian Simple Stitch – This is the foundation row of the bag. It gets the project started.
- Tunisian Crossed Simple Stitch – This is the top edge of the bag, giving it the fun mesh look.
- Tunisian Smock Stitch – This is the main stitch of the front of the bag.
- Tunisian Knit Stitch – This is the main stitch of the back of the bag.
If you’ve never done Tunisian crochet, don’t stress—it’s easier than it looks. You’ll be using a long crochet hook to pick up loops across a row (called the forward pass), then work them off (the return pass). That’s it!
There’s also some basic single crochet used for joining pieces and finishing edges.
Let’s Talk Yarn
This bag works great with acrylic or cotton yarn. Cotton gives it more structure, while acrylic makes it lighter and a bit stretchier. I used a bright pink and green combo that screams “Watermelon!” but feel free to play with colors. You could even do a yellow watermelon version with black seeds! Or choose any colors you like, it doesn’t have to look like a Watermelon at all!
Tunisian Watermelon Bag Crochet Pattern
Option 1: Continue scrolling for free pattern instructions on this site
Option 2: Purchase the ad-free PDF that includes tutorial photos from one of my shops
Make It Your Own
There are so many fun ways to customize your Tunisian Watermelon Bag:
- Use yellow yarn for a yellow watermelon look.
- Add a fabric lining for a more finished bag interior.
- Add a sprinkle of glitter yarn or sequins for sparkle.
- Turn it into a strawberry bag by using red yarn, a green top, and yellow seed stitches.
Tips for Working with Tunisian Crochet
- Your fabric will curl—don’t worry! The curling relaxes a bit with blocking or edging.
- Use a Tunisian crochet hook with a longer shaft if possible. It makes handling the stitches easier.
- Keep your tension loose, especially on the return pass.
- Watch for twisted stitches—make sure you’re inserting your hook into the correct vertical bars.
If you’re a total newbie to Tunisian crochet, it’s worth watching a quick video tutorial on the Tunisian Simple Stitch. After a few rows, you’ll be hooked! (Pun absolutely intended.)
Where to Use This Bag
This little bag is super versatile! Here are some fun ways to use it:
- Small summer purse
- Candy or treat bag
- Library tote for kids
- Reusable gift bag
- Project bag for crochet supplies
The Tunisian Watermelon Bag Crochet Pattern
Keep reading for a list of what you need to make the Tunisian Watermelon Bag, including the stitch pattern instructions!

Materials
DK Weight Yarn (#3)
10 – ½” Black Buttons
1 – ¾” White Button
Optional Materials
K/10.5/6.5mm Crochet Hook
Gauge
Not important for this project
Size
Approximately 9” x 8.5” – Adjustable
Stitch Guide
arnd = around
ch(s) = chain(s)
sc = single crochet
sl st(s) = slip stitch(es)
tks = Tunisian Knit Stitch
tss = Tunisian simple stitch
YO = yarn over
YU = yarn under
Skill Level
Easy
WRITTEN IN U.S. TERMS


Notes
- First loop on hook counts as the 1st stitch for every row.
- In Tunisian crochet, only one side is the working side throughout (right side).
- For a wider bag, chain a multiple of 2 + 2 (40, 44…etc)
- Any weight yarn and any hook size can be used, but make sure the hook is at least 2 sizes larger than the hook size suggested on the yarn label.
- Rows 2-7 are the Crossed Simple Stitch; Rows 9-30 are the Tunisian Smock Stitch; Rows 32-54 are the Tunisian Knit Stitch; Rows 56-61 are the Crossed Simple Stitch.
Special Stitches
Tunisian Simple Stitch (TSS) – Insert hook from right to left under vertical bar and pull up a loop.
Tunisian Knit Stitch (TKS) – Insert hook from right to left under vertical bar and through to the back, yarn over, pull up a loop.
Instructions
BASE
With Green,
Ch 36,
R1. FWD: (Working in the back bump of the chain): Draw up a loop in 2nd ch from hook and in each ch across.
RTN: YO, pull through one loop on hook, *YO, pull through 2 loops on hook* to end.
R2. FWD: *skip one st, tss in next st, tss in skipped* across, tss in last st
RTN: Work off loops as indicated in step one
R3. FWD: Tss in 1st st, *skip next st, tss in next st, tss in skipped st* across, tss in last 2 sts
RTN: Work off loops as indicated in step one
R4-5. Repeat R2 & 3
R6. FWD: Tss across
RTN: Work off loops as indicated in step one
With Pink,
R7. FWD: *YU, Tss2tog* across, YU, tss in last st
RTN: Work off loops as indicated in step one
R8. FWD: Tss in 1st st, *YU, Tss2tog* to last 2 sts, *YU, tss* in last 2 sts
RTN: Work off loops as indicated in step one
R9. FWD: YU, sk 1st st, tss2tog, *YU, tss2tog* across, *YU, tss* in last
RTN: Work off loops as indicated in step one
R10-28. Repeat R8 & 9
R29. FWD: Tss across
RTN: Work off loops as indicated in step one
R30. FWD: Tks across
RTN: Work off loops as indicated in step one
R31-52. Repeat R30
With Green,
R53. FWD: Tss across
RTN: Work off loops as indicated in step one
R54. FWD: *skip one st, tss in next st, tss in skipped st* across, tss in last st
RTN: Work off loops as indicated in step one
R55. FWD: Tss in 1st st, *skip next st, tss in next st, tss in skipped st* across, tss in last 2 sts
RTN: Work off loops as indicated in step one
R56-58. Repeat R54 & 55; Fasten.
HANDLE
Cut 4 – 24” green pieces of yarn and 4 – 24” pink pieces of yarn
Hold green pieces together and fold in half. Hold pink pieces together, loop through folded end of green, and fold pink in half (so looped ends are ‘locked’ together). Tie ends of one color to something stationary and twist the yarn, until both colors are twisted up very tightly. Pinch the center, where the two colors meet, then untie opposite end, hold it together with the other loose end, then let go of the center and allow the colors to twist together. Knot both ends.
CLOSURE
Cut 2 – 11” green pieces of yarn and 2 – 10” pink pieces of yarn
Repeat handle instructions.
Finishing
- Fold strip in half, right side together, and sew up the sides. The fold is the bottom.
- Turn bag right side out, sc in each st arnd, then sl st in each st arnd; Fasten.
- Attach handle to inside of bag, one end of handle to each side seam. Sew through the knot.
- Sew both tails of closure to the top center of back panel (outside), through sc round, creating a loop.
- Sew ¾” white button to front of bag over tunisian rows 1-4 approximately.
- Sew ½” black buttons over front of pink (smock stitching) in desired locations.
- Hide all strings.
That’s how you make the Tunisian Watermelon Bag!

I’d love to see your finished projects! Join the Blackstone Designs Crochet Community or share them to my Facebook page! Hope to see you there!!
And don’t forget to add this pattern to your Ravelry favorites and Pin it for later, so you can always find it!
Happy Crocheting!
Written pattern and photographs © 2018 Sonya Blackstone of Blackstone Designs. Please do not sell, share, or modify this pattern, but instead share the link to where the pattern can be found. You may sell items you make with this pattern. This pattern, as with all Blackstone Designs/Sonya Blackstone patterns, are not for educational use without written permission from the designer.
Sonya Blackstone is a participant in the Amazon Services LLC Associates Program, an affiliate advertising program designed to provide a means for us to earn fees by linking to Amazon.com and affiliated sites.