
Crochet Herringbone Stitch – Free Tutorial
Not to be confused with variations of the basic crochet stitches, the crochet Herringbone Stitch pattern is a gorgeous finished fabric with a complex visual interest that is actually really simple to recreate!
This post contains affiliate links. At no extra cost to you, I may receive a small commission from purchases made through affiliate links, which helps me to keep bringing awesome free content!
This stitch is the January 2024 New Year’s Resolution CAL stitch!
Mastering a new crochet stitch can be an exciting challenge, especially if you’ve been comfortable with the same old stitches for a while. It pushes you to step outside your comfort zone. Not only does this help improve your crochet skills, but it also boosts your confidence as a crochet artist.
Learning a new crochet stitch is like discovering a new color in your yarn stash – it adds depth, excitement, and variety to your projects. By expanding your knowledge of different stitch techniques, you can create intricate patterns, textures, and designs that were previously unexplored. It opens up a whole new world of possibilities for your crochet creations.
The crochet Herringbone stitch is one of those stitches that can be used in a wide variety of projects, including scarves, blankets, and hats… I can even picture it as a cold weather skirt!
This stitch is a bit of a yarn eater, so it yields a thick fabric, but it’s so squishy and cozy, and absolutely beautiful, so I think it’s worth it!
The Herringbone stitch would also be gorgeous as a chunky striped blanket, which is now on my short list of crochet project musts! I’ve been wanting to design a blanket using #5 Bullky Weight Yarn, and I think this is the perfect idea for it.
The Herringbone stitch may not be a beginner friendly pattern due to the techniques used, but if you know the basic crochet stitches: chain, slip stitch, single crochet, and double crochet, and you’re feeling confident that you’ve mastered these stitches and your tension, then I think you can handle this stitch!
How to get the Crochet Herringbone Stitch Afghan Square pattern:
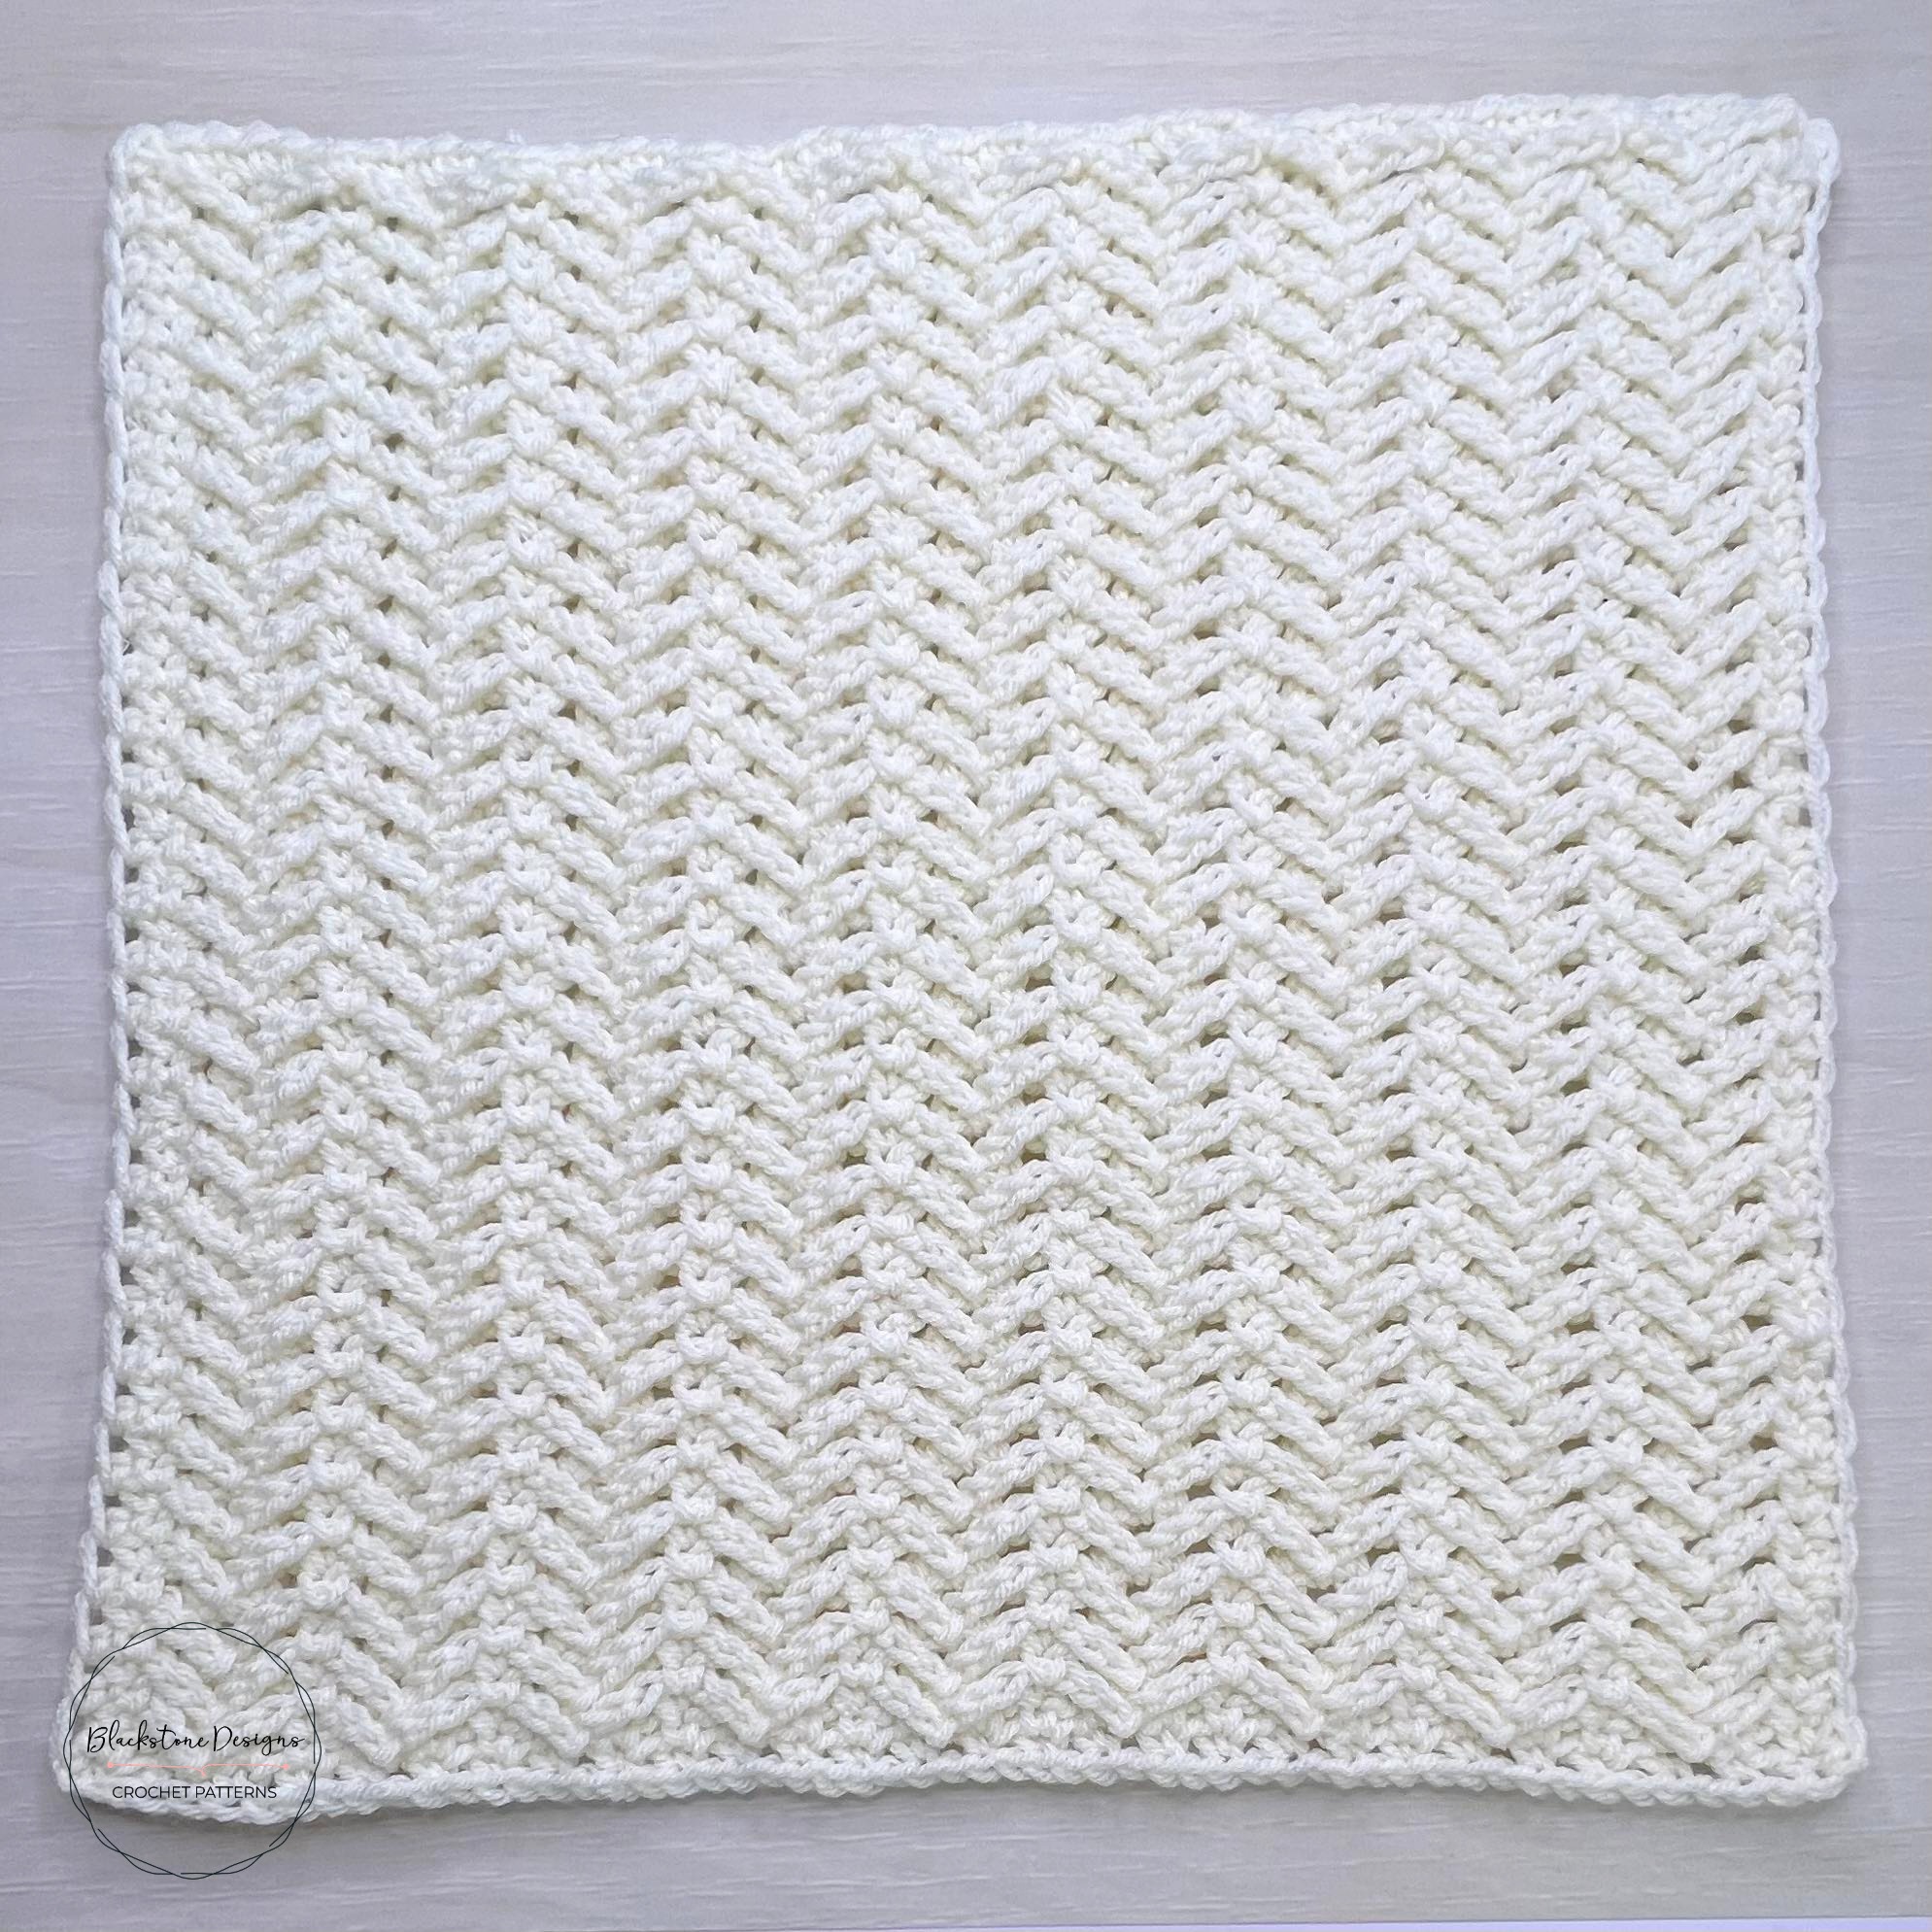
Herringbone Stitch Afghan Square Crochet Pattern
Option 1: Continue scrolling for free pattern instructions on this site
Option 2: Purchase the ad-free PDF that includes tutorial photos from one of my shops
Option 3: Purchase the “12 Crochet Stitch Afghan Squares” ebook.
Gauge
19 sts x 20 rows = 4.5”
Finished Measurements
15″ x 15″ after blocking
Stitch Guide
ch = chain
dc = double crochet
sc = single crochet
sl st(s) = slip stitch(es)
Skill Level
Intermediate – Advanced
Written in U.S. Terms


Notes
- Beginning chains do not count as stitches.
- This square is worked from bottom to top.
- This pattern is worked in multiples of 6 + 2 chain; the instructions are written for a beginning ch-56, but you can add or remove chains in multiples of 6.
- To work a gauge swatch, chain 20 then work the pattern below for 20 total rows.
- Important: When working slip stitches in ch-1 spaces, make sure to work over the front of the fabric and not around the whole piece (which would cinch the fabric).
- There is a complementary video on YouTube!
Instructions
With Color A,
R1. Working in the back back of the chain across:
Ch 56, sc in 2nd chain from hook, *ch 1, skip 1, sc in next* across, turn (28 sc, 27 ch-1)
R2. Ch 1, sc in 1st sc, *ch 1, skip ch-1 space, sc in sc* across, turn (28 sc, 27 ch-1)

R3. Ch 1, sc in 1st sc, *ch 3, skip next ch-1 space and sc, sl st in next ch-1 space 2 rows below, ch 3, skip next sc and ch-1 space, sc in next sc* across, turn (10 sc, 18 ch-3)

R4. Ch 1, sc in 1st sc, *ch 1, skip ch-1 space, (dc in next sc behind ch-3, ch 1, skip ch-1 space) 2X, sc in next sc* across, turn

R5. Ch 1, sc in 1st sc, *ch 3, skip next ch-1 space and dc, sl st in next ch-1 space 2 rows below, ch 3, skip next dc and ch-1 space, sc in next sc* across, turn (10 sc, 18 ch-3)
R6. Ch 1, sc in 1st sc, *ch 1, (dc in next dc, ch 1) 2X, sc in next sc* across, turn

Repeat R5-6 until fabric measures 14 ½ – 14 ¾ ; Break Yarn.R7. Attach yarn to bottom right corner, sc evenly up the right edge, sc in each st and ch-1 space across the top, sc evenly down left edge; Fasten. Do not work across the bottom. (I placed 30 sts across the sides for a total of 115 sc across the 3 sides = 170 total stitches around the edge if you count across the bottom)

Finishing
- Block square to 15″ x 15″
- Hide all strings.
And that’s how you crochet the Herringbone Stitch!

Join our crochet community group!
Come on over and join the Blackstone Designs Crochet Community on Facebook for fun CALs and giveaways, plus exclusive sales, pattern support, and so much more!
Don’t forget to share!
Tag me on Instagram at @blackstone_designs or use the hashtag #BlackstoneDesignsCrochet so I can share your makes with the community!
Happy Crocheting!
Written pattern and photographs © 2022 Sonya Blackstone of Blackstone Designs. Please do not sell, share, or modify this pattern, but instead share the link to where the pattern can be found. You may sell items you make with this pattern. This pattern, as with all Blackstone Designs/Sonya Blackstone patterns, are not for educational use without written permission from the designer. All rights reserved.
Sonya Blackstone is a participant in the Amazon Services LLC Associates Program, an affiliate advertising program designed to provide a means for us to earn fees by linking to Amazon.com and affiliated sites.


This is really pretty Thank you for doing this CAL
Hi Cleary!
I’m so happy to hear you are liking this stitch!
-Sonya
I see the January Herringbone stitch uses 225 yds. Have you decided how many yds future stitches will use? I want to use my eclectic yarns for this project. Been off my crojo over a year now after surgery. Hoping this CAL gets me moving. TKU
I have a question about the final row/round, you indicate that you worked 30 sc down the sides, but if you have roughly 56 rows to make gauge, then there will be some puckering on the sides. Can you confirm that the 30 sc on the sides is correct?
Hi Nancy!
I did work only 30 stitches, but if you’re finding it is puckering, you could do more. You just want to make sure that both side edges have the same amount of stitches.
-Sonya
I have been following the herringbone stitch video tutorial on YouTube with a 5.00mm hook and a chain 56. By the end of row 3 my width is only 11 inches. I would attach a photo for reference but I am not that tech savvy! I’m not sure how to correct it to make it 15” without potentially messing up the connecting of the squares at the end of the year.
Hi Darlene!
Are you using a Worsted Weight (Medium #4) Yarn? It sounds like your yarn may be too thin.
The squares are not going to match up evenly due to the stitch counts all being different, so you can chain in multiples of 6+2 to get to your desired width.
-Sonya