
How to Make a Tooth Fairy Pillow – Free Crochet Pattern
One of my very first crochet designs was this Tooth Fairy Pillow! I began designing crochet patterns in November of 2012, at first I started out as a handmaker and I only designed patterns here and there to sell in my shop. It didn’t take me long to realize that I was very much in love with the designing aspect.
This post contains affiliate links. At no extra cost to you, I may receive a small commission from purchases made through affiliate links, which helps me to keep bringing awesome free content!
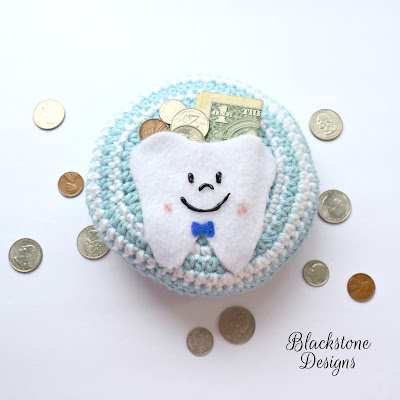
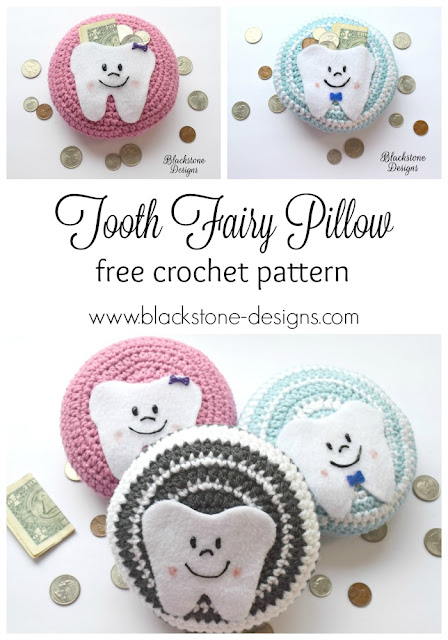
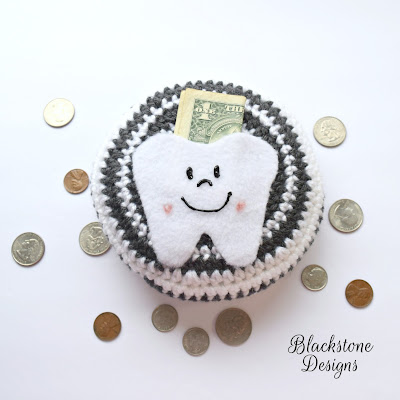
Tooth fairy pillows with a tooth pocket. Perfect for tooth exchanges. No need to dig around that huge pillow for a tiny tooth!
So, recently I started another craft blog, She’s So Creative (it’s a WIP 😉 ), and I decided to recreate these Tooth Fairy Pillows as my first sewing pattern!
But, how could I have that pattern be free and not this one? Well, that’s why it’s now up on my blog! Woohoo!

Get the Ad-Free PDF from your favorite pattern shop below!



Excited to make one? Here’s how:
Materials
- Worsted Weight Yarn (#4)
- H/8/5.00mm Hook
- Fiberfill
- White Felt
- Black 3-D Fabric Paint
- Pink Crayon
- Hot Glue Gun/Glue Sticks
- Optional: Colored Felt/3-D Paint (Bows)
- Optional: Foam letters/Felt letters (Names)
Gauge
Not important for this project
Finished Measurements
Approx. 6” diameter x 1.5” thick
Stitch Guide
arnd = around
dec = decrease
hdc = half double crochet
sc = single crochet
Skill Level
Beginner
Written in U.S. Terms

Notes
- Pillows are worked in continuous rounds with no joins or chains.
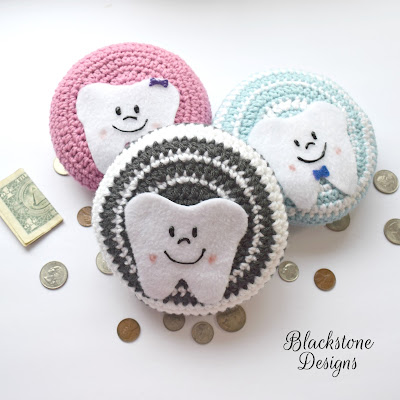
- I did random color changes; There was no particular pattern for it, so it is completely optional. Variegated yarn could also be used.
Instructions
R1. Magic Ring, sc x 7 (7)
R2. 2 hdc arnd (14)
R3. 2 sc, sc arnd (21)
R4. *2 hdc, hdc x 2* arnd (28)
R5. *2 sc, sc x 3* arnd (35)
R6. *2 hdc, hdc x 4* arnd (42)
R7. *2 sc, sc x 5* arnd (49)
R8. *2 hdc, hdc x 6* arnd (56)
R9. *2 hdc, hdc x 7* arnd (63)
R10-12. hdc arnd (63)
R13. *dec, hdc x 7* arnd (56)
R14. *dec, sc x 6* arnd (49)
R15. *dec, hdc x 5* arnd (42)
R16. *dec, sc x4* arnd (35)
R17. *dec, hdc x 3* arnd (28)
R18. *dec, sc x 2* arnd (21)
R19. *dec, hdc* arnd (14)
Stuff Here
R20. dec arnd (7).
Weave tail through remaining sts and pull string to close. Bring tail down through center and hide inside the pillow.

Finishing
- Using white felt, cut out a tooth shape. You can also you this template!
- Hot glue bottom and sides of felt tooth onto pillow leaving top open to form a pocket.
- Use pink crayon to draw cheeks on the tooth
- Use 3-D Fabric Paint to draw face on the tooth
- Optional: Use colored felt or colored 3-D paint to add hair bow or bowtie
- Optional: Use foam or felt letters to personalize.

Don’t you just love these?! Who will you make one for? Comment and let me know!
I’d love to see your finished projects! Join the Blackstone Designs Crochet Community or share them to my Facebook page!
Hope to see you there!!
And don’t forget to add this pattern to your Ravelry favorites and Pin it for later, so you can always find it!

Written pattern and photographs © 2017 Sonya Blackstone of Blackstone Designs. Please do not sell, share, or modify this pattern, but instead share the link to where the pattern can be found. You may sell items you make with this pattern. This pattern, as with all Blackstone Designs/Sonya Blackstone patterns, are not for educational use without written permission from the designer.
Sonya Blackstone is a participant in the Amazon Services LLC Associates Program, an affiliate advertising program designed to provide a means for us to earn fees by linking to Amazon.com and affiliated sites.




I think that these are so sweet. I cannot wait to make some of these. Thank you for sharing this pattern.
Is there any chance that you could post a size and stencil (?) for the tooth? I can crochet but not sure I can get the tooth right.
Hi Sue!
I added a link for a tooth template printable to the finishing instructions!
-Sonya
Can you enlarge it on your screen and trace it with a pencil and paper? or print it out and cut it from there??
Hi Cindy!
You absolutely can do that! The percentage you would need to enlarge it would vary depending on what device you’re using, so it may take some playing around. I would suggest making the pillow first, so you can match it up to size!
-Sonya
I am trying to get the template for the tooth. Where it says this template and i click on it and it says item not found
Thank you for bringing this to my attention! I’m not sure how the file got removed, but I have updated it!
-Sonya