Crochet Nutcracker Drosselmeyer Ornament Pattern
If you’re joining us for the Ultimate 12 Days of Christmas Crochet Along, we’re stepping right into the magic, mystery, and whimsy of The Nutcracker! This year’s CAL is completely Nutcracker-themed, and I couldn’t resist designing one of the story’s most iconic characters! Introducing the crochet Drosselmeyer ornament pattern… but with a festive twist!
This post contains affiliate links. At no extra cost to you, I may receive a small commission from purchases made through affiliate links, which helps me to keep bringing awesome free content!
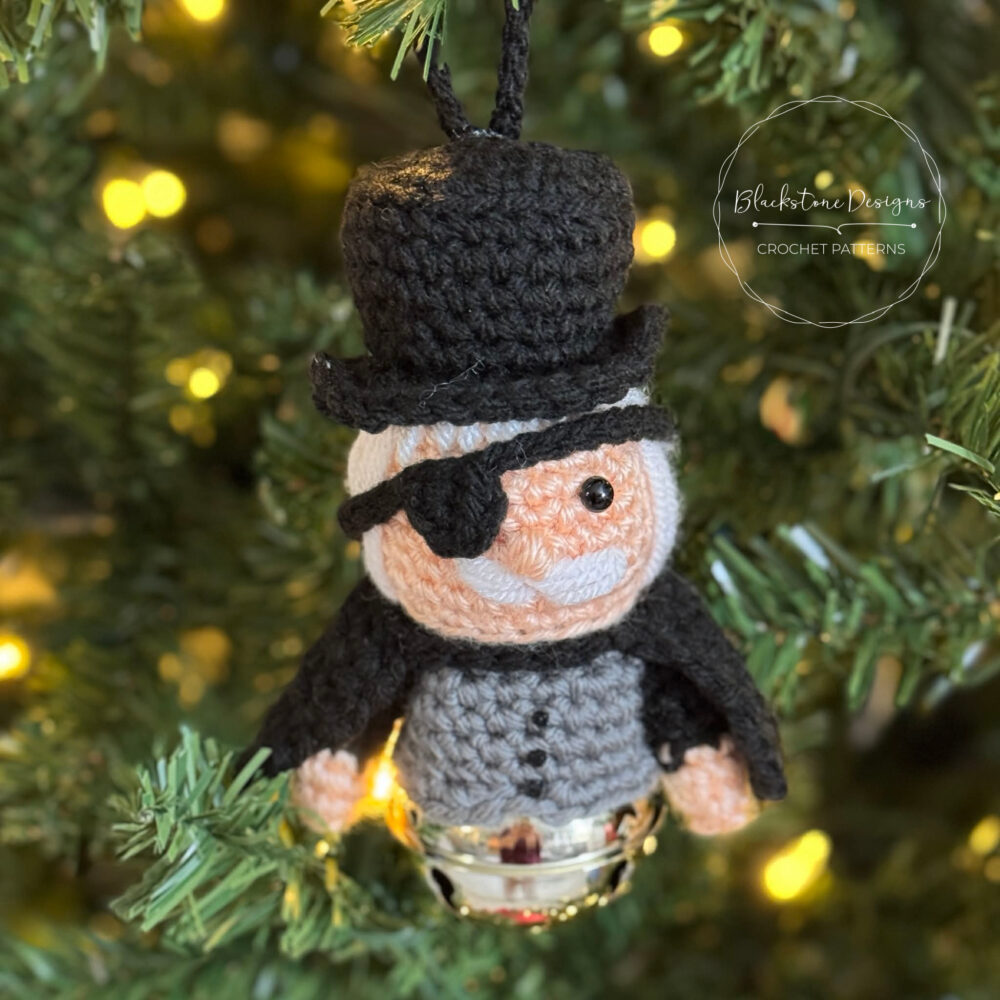
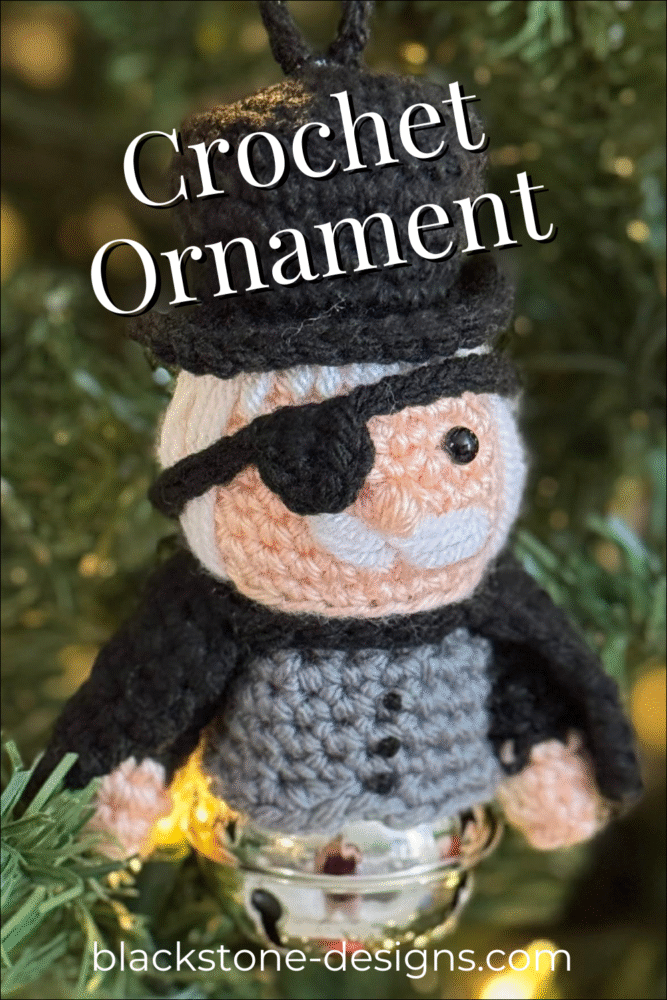
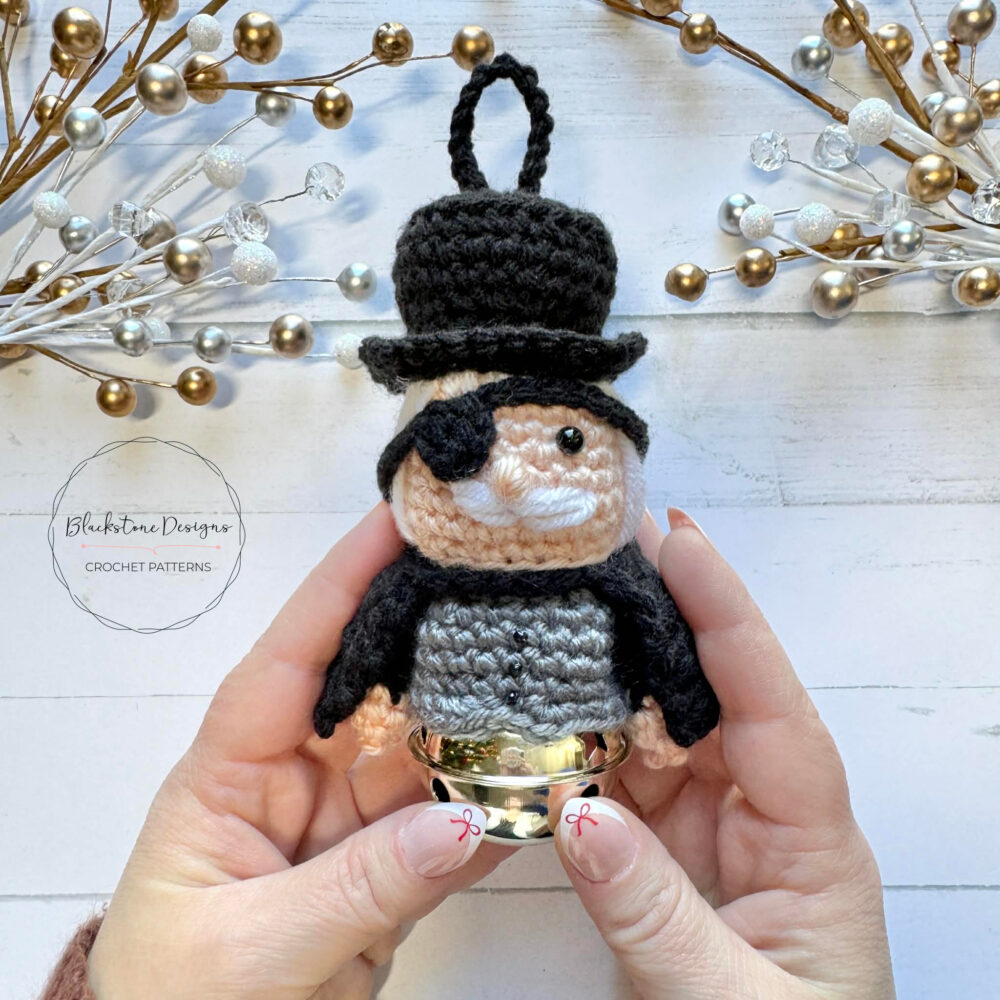
Say hello to the Crochet Drosselmeyer Jingle Bell Ornament, a charming, dapper, slightly mischievous addition to your holiday tree. He’s complete with a top hat, cloak, eye patch, and of course—his a cute little mustache. And because it’s part of the Jingle Bell Ornament series, the body is finished off with a real jingle bell for extra sparkle and sound.
This ornament is quick to make, fun to customize, and perfect for anyone who loves The Nutcracker, holiday storytelling, and handmade Christmas décor.
Meet Drosselmeyer
Before we dive into what makes this ornament so fun, let’s set the scene. In the classic ballet, Drosselmeyer is Clara’s mysterious, magical godfather who sets everything into motion—literally. He brings the Nutcracker doll, he leads the festivities, and his presence is what carries Clara (and the audience!) from a simple Christmas Eve party into a world of snowflakes, sweets, and enchantment.
This crochet ornament captures everything we love about him:
- The top hat
- The cloak
- The iconic eye patch
- And of course, we needed a sweet mustache!
Whether you adore the ballet, the music, or the nostalgia of watching The Nutcracker every holiday season, this tiny Drosselmeyer will bring that same magical feeling right to your tree.
Why You’ll Love Crocheting the Drosselmeyer Ornament
There are so many reasons this little character is going to be a favorite in your handmade ornament collection:
Perfect for Nutcracker lovers
Whether you’ve danced in the ballet, seen it live, or watch it annually as a family tradition, this ornament is a fun way to bring that experience to your décor.
Fast and beginner-friendly shaping
The design uses simple stitches, small color changes, and basic shaping techniques—nothing complicated or intimidating. All the personality comes from the little details.
Uses only small amounts of yarn
Perfect for stash-busting! You only need scraps of black, gray, peach, white, and a jingle bell.
Unique holiday décor
He’s not your typical Santa or snowman ornament—he’s a character with flair, history, storytelling, and personality.
Part of a FULL Nutcracker series
Because this ornament is part of the Ultimate 12 Days of Christmas Crochet Along, you’ll have a whole themed collection by the end of the event!
A Closer Look at the Design
Let’s explore what makes this piece so charming and recognizable—even at a small size.
The Iconic Top Hat
Drosselmeyer wouldn’t be himself without his classic top hat. It’s designed in a way that gives it height and structure without adding bulk, making it lightweight enough to hang perfectly on the tree.
The Cloak
Worked in black yarn, the cloak hangs around the neck and adds the instantly recognizable silhouette fans of the story know so well. It gives him that slightly dramatic, theatrical presence he’s famous for.
The Face & Eye Patch
His eye patch is one of his most defining features. This ornament includes a simple strap and patch that fits snugly against his crocheted face. A tiny white mustache and hair complete the look.
Textured Body & Buttons
The torso uses subtle texture to mimic Drosselmeyer’s vest and suit jacket. Tiny puffy paint buttons pull the look together. But you can choose to embroider them on if you prefer.
The Jingle Bell Base
Instead of traditional amigurumi shaping, these ornaments incorporate a real jingle bell for the lower body. It adds shine, sound, and a fun holiday touch that makes the ornament feel extra magical.
How to Use Your Crochet Drosselmeyer Ornament
While he looks great on a Christmas tree, there are so many creative ways to enjoy him:
Hang him front and center on your holiday tree
He’s a conversation starter for sure.
Attach to wrapped gifts as a reusable tag
Personal and practical… plus the jingling makes it adorable.
Gift to dancers, dance teachers, or Nutcracker fans
Perfect for anyone involved in a holiday ballet production.
Use as décor for a Nutcracker-themed mantle or shelf
Pair him with your other CAL ornaments for a full scene.
Add to a handmade ornament collection
If you collect or gift a new ornament every year, this one is a standout.
Customization Ideas
Want to give your Drosselmeyer a personalized twist? Here are a few fun variations:
Choosing the jingle bell
Silver, gold, red, green —each creates a different vibe.
Add a sparkle yarn for the cloak
Perfect for a more “stage costume” look.
Make multiple color versions
Darker skin, lighter skin, gray cloak, navy vest—there are endless combinations.
Add a tiny cane or staff
A simple chain-stitched accessory instantly elevates the theme.
Add a little sparkle to the mustache
Use a subtle sparkle thread held together with your yarn.
Great for Gifting!
It’s an especially thoughtful gift for:
- Dance instructors
- Ballet students
- Theater performers
- Teachers
- Grandparents
- Ornament exchange groups
- Anyone who collects handmade decorations
Pair it with a Nutcracker mug, a pair of tickets to the ballet, or a set of crocheted snowflake coasters for a magical themed gift.
Time Commitment and Skill Level
This is an Easy skill level crochet project. You will need to know the following:
Single crochet
Increasing and decreasing
Working in the round
Color changes
Simple amigurumi shaping
Embroidery for details
As far as time, you can complete this ornament in an afternoon. It took me approximately 2.5 hours.
How to Get the Crochet Drosselmeyer Ornament Pattern
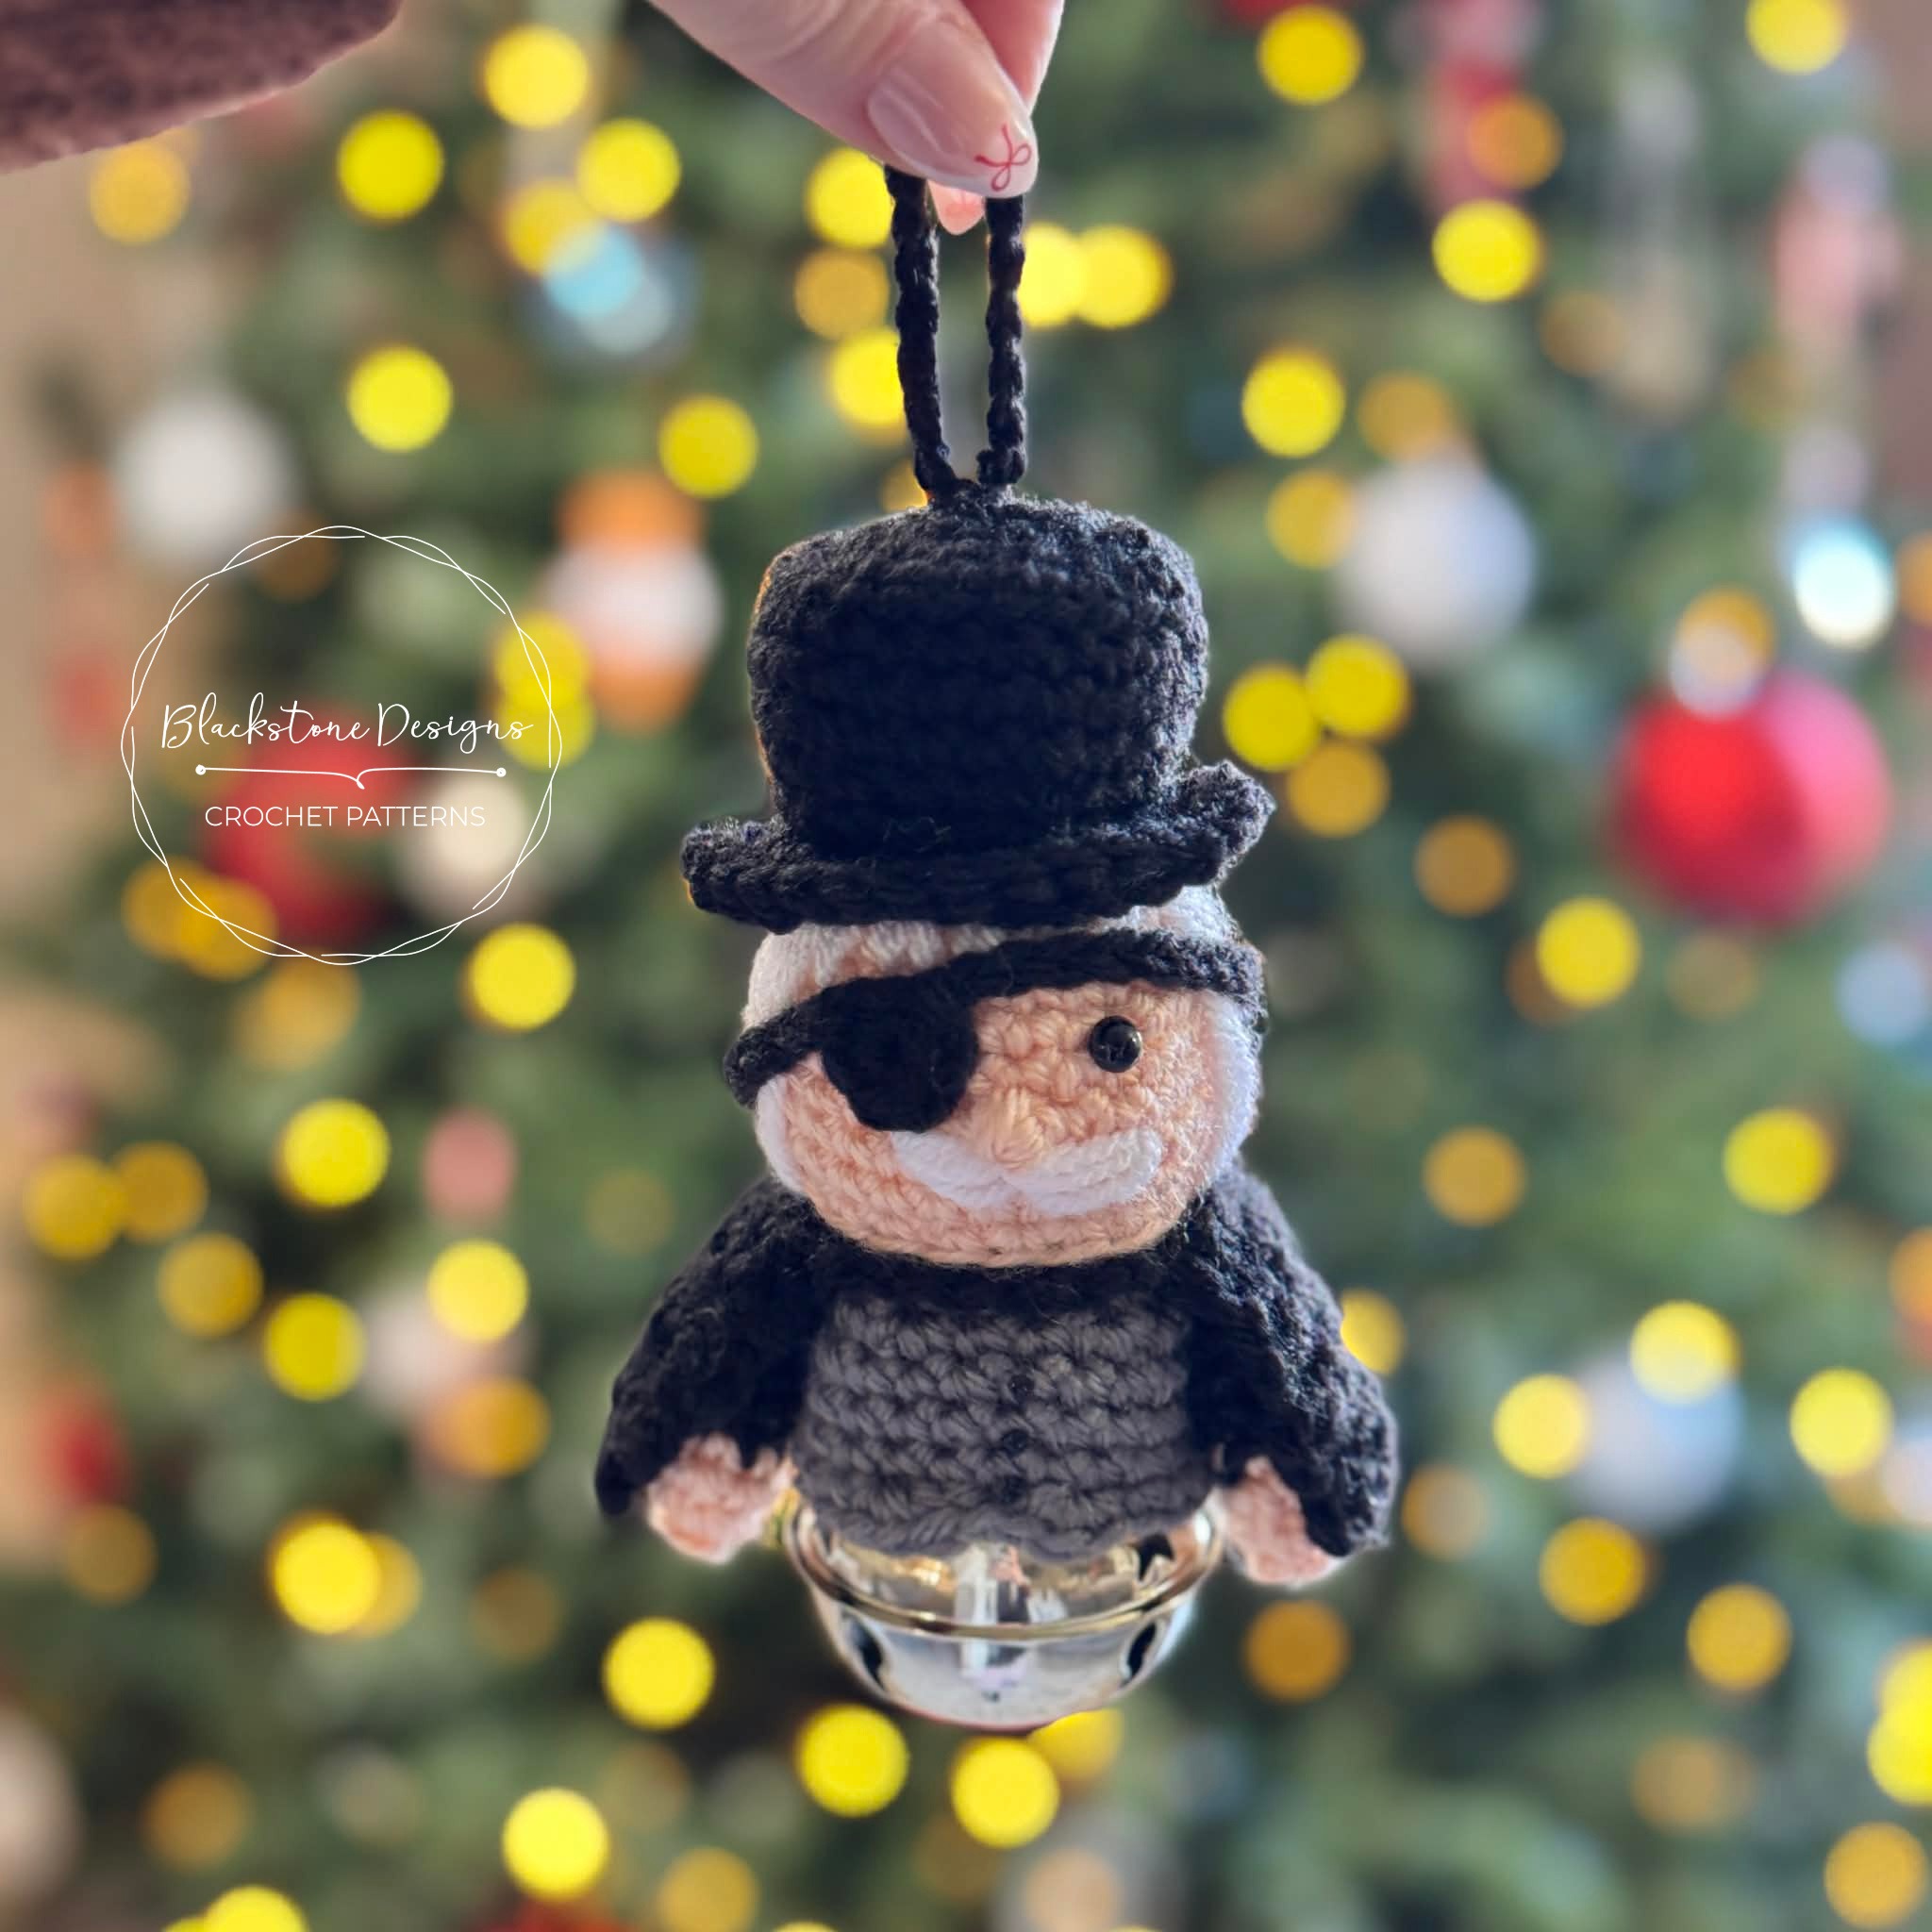
Drosselmeyer Jingle Bell Ornament Crochet Pattern
Option 1: Continue scrolling for free pattern instructions on this site
Option 2: Purchase the ad-free PDF that includes tutorial photos from one of my shops
About the Materials
The Crochet Drosselmeyer Ornament was made with 100% Acrylic Worsted Weight Yarns. Great yarn options are KnitPicks Brava, Lion Brand Pound of Love, Paintbox Simply Aran, and Hobby Lobby I Love This Yarn.
You will also need a G/6/4.00mm crochet hook, 6mm safety eyes, 2″ Jingle Bell, and fiberfill stuffing. I used hot glue to attach the pieces together and to attach the body to the jingle bell.
The Crochet Pattern
Keep reading for a list of what you need to make the Drosselmeyer Crochet Jingle Bell Ornament, including the stitch pattern instructions!

Materials
Worsted Weight Yarn (#4)
- Skin Tone – 40 yards
- Black – 90 yards
- Gray – 60 yards
- Hair Color – 40 yards
Scissors (So Cute!)
Optional Materials:
Gauge
Not critical for this project.
Finished Measurements
5” tall from top of hat to bottom of bell.
Stitch Guide
arnd = around
BLO = back loop only
dec = single crochet decrease
ch = chain
FLO = front loop only
sc = single crochet
sl st(s) = slip stitch(es)
st(s) = stitch(es)
Skill Level
Easy
Pattern Written in U.S. Terms
Notes
- Beginning chains do not count as stitches
- Where asterisks appear, repeat the instructions between them.
- This pattern starts at the top of the head and works down; the head, arms, and body are one piece, with the hat, cape, and eye patch added on after.
Instructions
HEAD
With Skin Tone,
R1. Make a magic ring, ch 1, 6 sc in ring (6)
R2. 2 sc arnd (12)
R3. *2 sc, sc* arnd (18)
R4. *2 sc, sc x 2* arnd (24)
R5-10. sc arnd (24)
R11. *dec, sc x 2* arnd (18)
With Black,
R12. BLO sc arnd (18)
R13. FLO sc x 4, ch 4, join to form a ring (4 sc, 4 ch) <1st Arm Created>
R14-16. sc arnd (8)
With Skin Tone,
R17-18. sc arnd (8)
R19. dec arnd; Cut yarn, weave tail through sts, cinch to close; Fasten. (4)Skip 5 sts on head, attach yarn to FLO of 6th st and repeat R13-19. <2nd Arm Created>
BODY
With Gray,
R20. Attach yarn to any stitch on body: sc in same space and in each st arnd, working in scs across body and in chs across arms (18)
R21. *2 sc, sc x 2* arnd (24)
R22-24. sc arnd (24)
R25. sc arnd to 5 front center sts: 3 sc, skip 1, sl st, skip 1, 3 sc in those sts, sc in any remaining sts; Fasten.
HAT
With Black,
R1. Make a magic ring, ch 1, 6 sc in ring (6)
R2. 2 sc arnd (12)
R3. *2 sc, sc* arnd (18)
R4. *2 sc, sc x 2* arnd (24)
R5. FLO sc arnd (24)
R6. sc arnd (24)
R7. *dec, sc x 2* arnd (18)
R8. sc arnd (18)
R9. FLO: *2 sc x 4, sc x 5* 2X (26)
R10. sc x 2, 2 sc x 4, sc x 9, 2 sc x 4, sc x 7; Fasten. (34)
CAPE
With Black,
R1. Ch 25, join to form a ring (do not twist), sc x 18, turn (leave remaining chs unworked) (18)
R2. Ch 1, 2 sc, sc x 16, 2 sc, turn (20)
R3-7. Ch 1, sc across; Fasten at the end of R7.
EYE PATCH
With Black,
Make magic ring, ch 1, 6 sc in ring, pull string tight to close ring, ch 25, sl st to join in stitch next to where ch started (leave remaining 4 sts unworked); Fasten.
HANGER
With Black,
Ch 15; Fasten.
Finishing
- Insert eyes on front center of face between R6&7, 2 stitches apart.
- Stitch on hair starting between R3&4 and making 2 passes per spike over the following amount of rows:
- “Bangs” = 2 Rows (6 “pieces”)
- Remaining hair = 8 rows (12 “pieces”)
- Stuff head firmly (do not over stuff).
- Attach body to top center of jingle bell.
- Attach cape “neck”, by bringing it down over the head.
- Attach eye patch to preferred eye, then slant the strap, so one side goes down around bottom back of head and the other side comes across the top of head/forehead (as shown in photo).
- Attach hat to R3 of head on the front (so “bangs” are showing), with the curled edges of the brim on the sides.
- Stitch a nose onto the front center of face, working from side to side, over 1 stitch on R8 (should be centered between eyes).
- Stitch mustache on under the nose, working over 3 stitches.
- Using french knots or 3D fabric paint, add “buttons” to front center of gray “vest” in desired location.
- Attach hanger to top of hat as desired.
- Hide all strings.
- Optional: Cut out nutcracker printable and attach to either hand. I laminated mine before attaching with hot glue. You can laminate with traditional lamination sheets, self stick lamination sheets, or packing tape.
That’s the Crochet Drosselmeyer Jingle Bell Ornament Pattern!
The Crochet Drosselmeyer Jingle Bell Ornament is full of character, charm, and classic Nutcracker magic. Whether you’re making him as part of the Ultimate 12 Days of Christmas Crochet Along or just adding something special to your holiday décor, he’s the kind of project that makes you smile from the moment you finish stitching on that tiny top hat.
Handmade Christmas ornaments carry stories, memories, and heart—and this little Drosselmeyer is ready to bring all of that magic to your tree this year.
Don’t forget to share!
If you make the Drosselmeyer Ornament, I’d love to see him! Tag me on Instagram at @blackstone_designs or use the hashtag #BlackstoneDesigns so I can share your makes with the community.
Join our crochet community group!
Come on over and join the Blackstone Designs Crochet Community on Facebook for fun CALs and giveaways, plus exclusive sales, pattern support, and so much more!
Happy Crocheting!

Written pattern and photographs © 2025 Sonya Blackstone of Blackstone Designs. Do not sell, share, or modify this pattern, but instead share the link to where the pattern can be found. You may sell items you make with this pattern. This pattern, as with all Blackstone Designs/Sonya Blackstone patterns, are not for educational use without written permission from the designer. All rights reserved.
Sonya Blackstone is a participant in the Amazon Services LLC Associates Program, an affiliate advertising program designed to provide a means for us to earn fees by linking to Amazon.com and affiliated sites.